I was born in the shadow of Mount Hood. Although I didn't grow up in Oregon I distinctly remember seeing Mount Hood on various trips as a child because my parents were very fond of the area. Even in my earliest memories of the mountain I have been awed by it. To finally stand on Hood's summit and ski down fulfills a longtime desire. Although it is not the tallest of the volcanoes I believe Mount Hood is the most aesthetic, has the best skiing routes, and it was certainly the best ski on this trip to the PNW. With the successful summit ski descent on Mount Hood I conclude my volcano skiing for the season.
Note: Final videos will be created AFTER I finish this trip. Enjoy the previews but there is better stuff coming.
Tuesday, June 14, 2011 - After a day of rest from my adventure on Mount Adams I got in contact with Ben Krause. The weather looked somewhat questionable so we decided to head up to Mount Hood and scope the area. On the drive up it was really cloudy, but as soon as we got to the Timberline parking lot we were above all clouds and it was completely clear. Kicking ourselves for not doing the summit that day we decided to go for a very short tour.
Wednesday, June 15, 2011 - We arrived at the Timberline parking lot at 6:30 AM to find that it was snowing...hard. Ben and I hung out in the climbers registration room until 9:30 hoping for a weather break.
When we got to the top of the Palmer snowfield (8,540') and it was still windy, low visibility and snowing. Ben and I were discouraged to say the least. We were just getting ready to ski back down to the parking lot when Eric Severson, a friendly visitor from Minnesota, strolled over and asked, "How high can you hike above the lift here?" I responded that you can hike to the top of the mountain, but I didn't recommend it because the visibility was so poor. Then he informed us that it was quite clear and sunny not even 200 yards to the east from where we were.
I honestly didn't believe him, but Ben and I figured it wouldn't hurt to check it out just in case. As it turns out, Eric saved Ben and I from having to come back some other day because we had clear visibility to the summit. I've seen weather change quickly, but never have I seen such a distinct line of demarcation in the clouds. Within 20 yards we went from a low-visibility snowstorm to clear skies!
And to think, we were just about to turn around.
The approach truly begins!
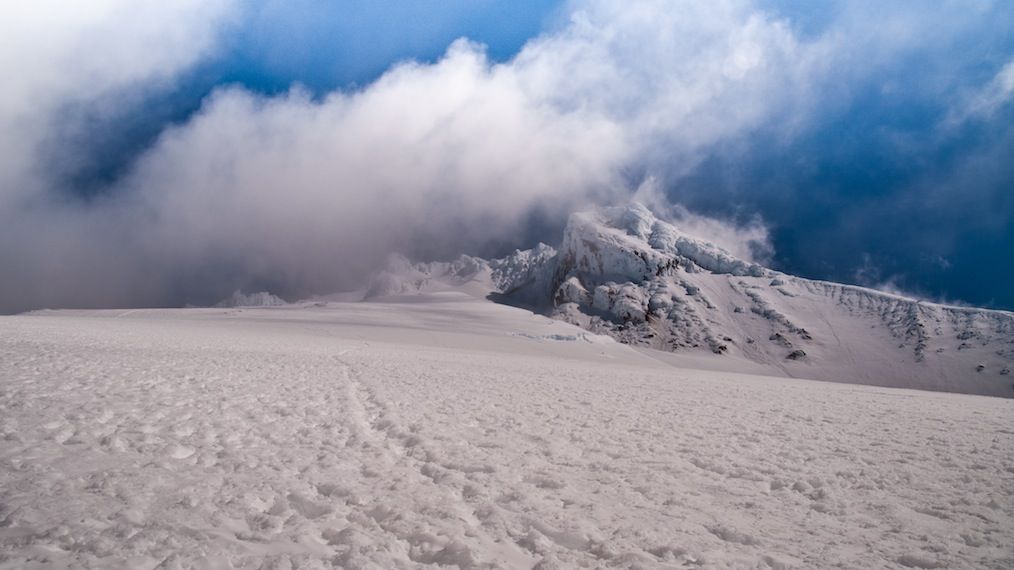
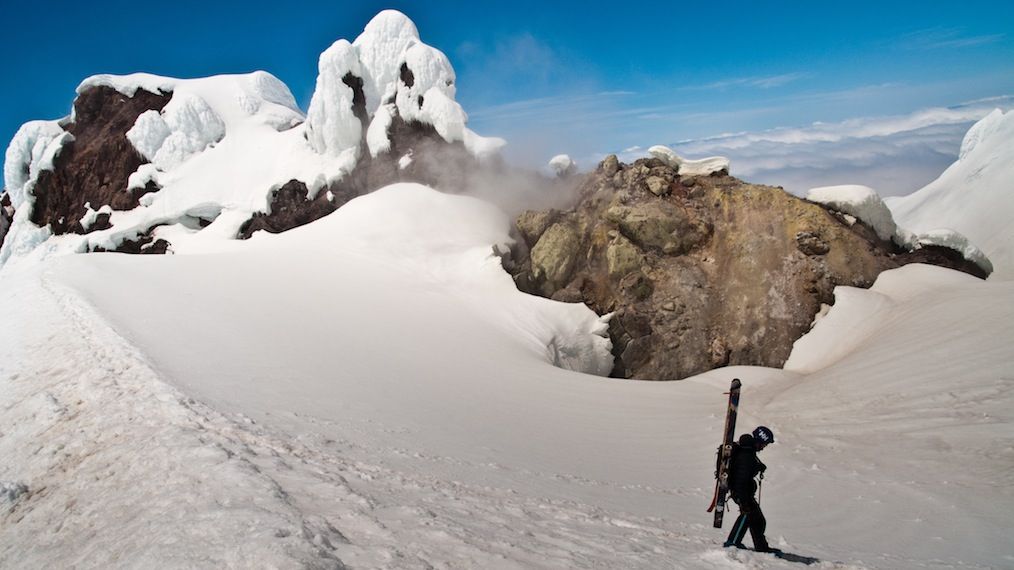
On the way up it was really quite cold and the wind was howling. The snow surface was entirely rime ice which made skinning quite difficult. I had been wearing my shell over a short-sleeved base layer but decided to switch to a down puffy coat after about 1000' vertical. Once I had it on I was quite comfortable and I continued to climb in it for the rest of the ascent. I also used the opportunity to switch from skinning to boot-packing up the rock hard rime ice.
Changing layers under Crater Rock. You can see old ski tracks on the standard southern descent route. My descent route is just out of the left of the frame.

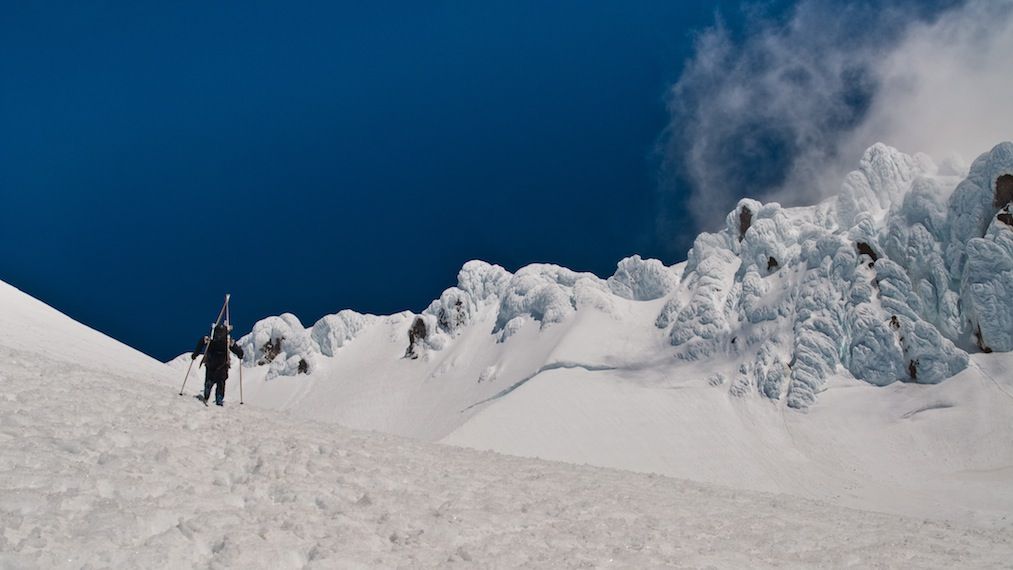
Ben switched from skinning to boot-packing earlier than I did and it was probably a good decision.

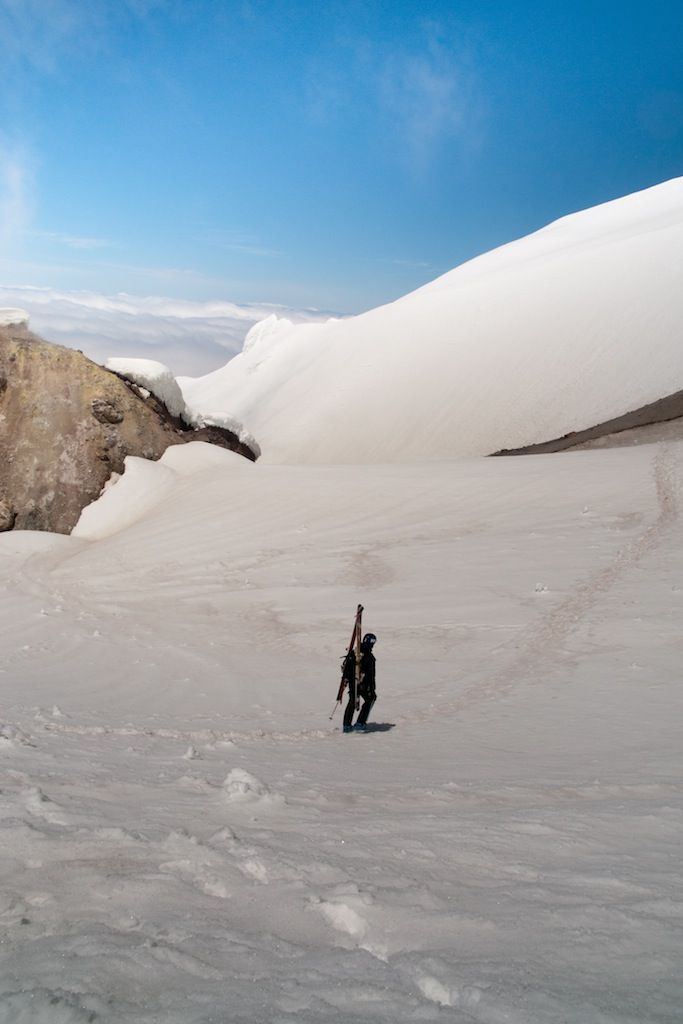
A good spot to scope my line.

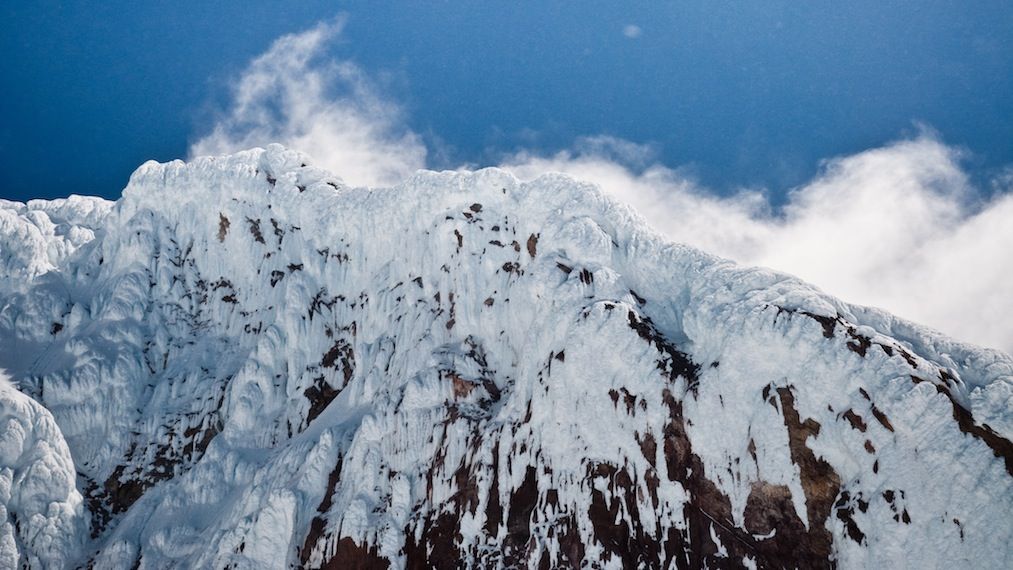
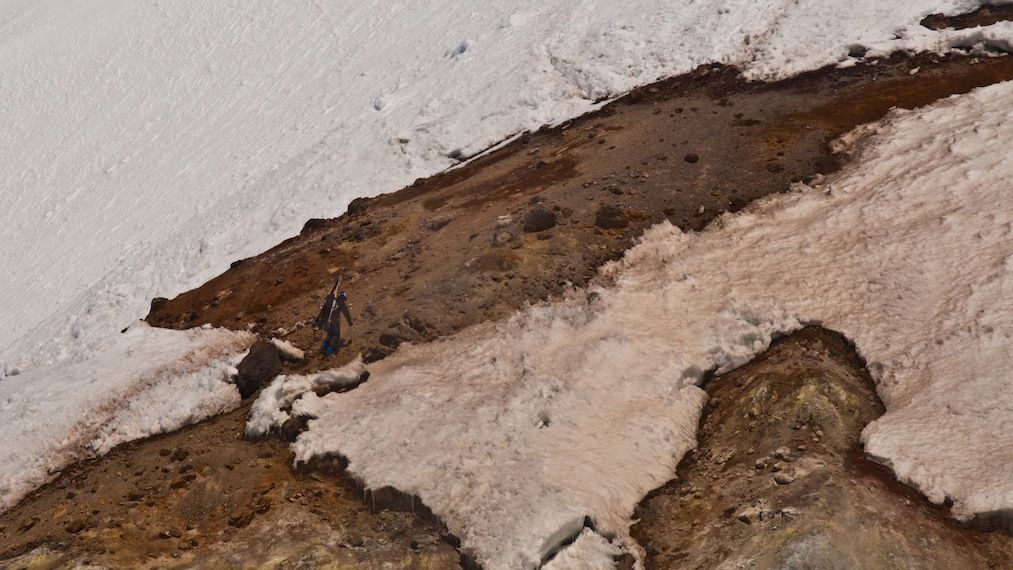
Perspective on the rime.

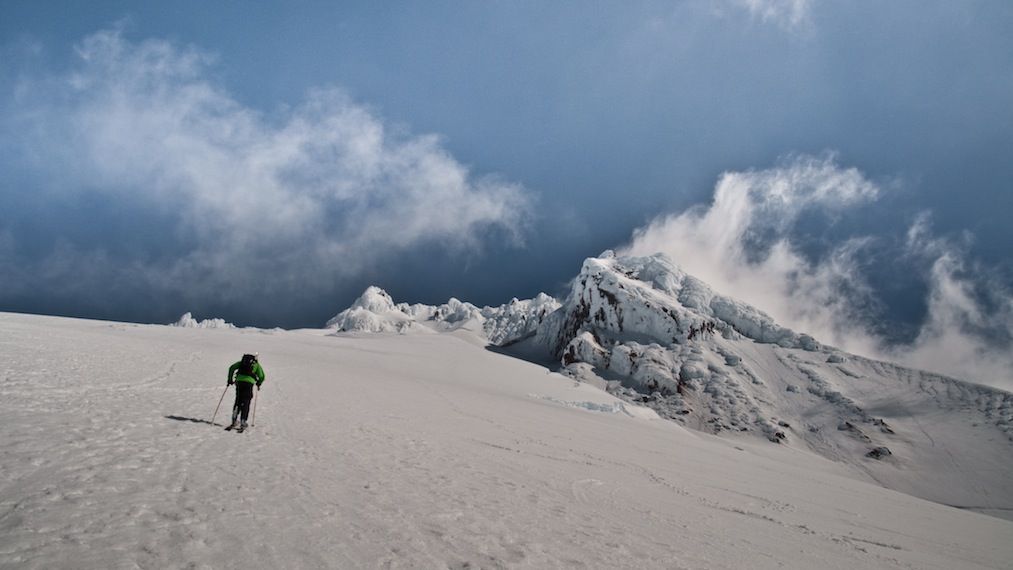
Ben making his way up.

The wind whipping over the Steel Cliffs.
Getting near the Hogsback.
On the Hogsback with the Steel Cliffs in the background.

As we gained the Hogsback part of Hood's crater, Ben realized that he would not have enough time to finish the climb and make it back to Portland for a job interview that he had. This left me with a slight dilemma; should I turn around or continue to the summit solo? Above the Hogsback is where one must cross the most glaciated and crevassed terrain. Looking at my intended approach route (The Old Crater Route) it was obvious that all the crevasses I would have to cross were thoroughly bridged. Additionally, the firm snowpack on the approach and the freezing temperatures made me quite confident in the strength of those bridges. I decided to go it alone, but with Ben watching as I made progress through most of the remaining ascent.
Panorama of the summit crater from the start of the Hogsback.
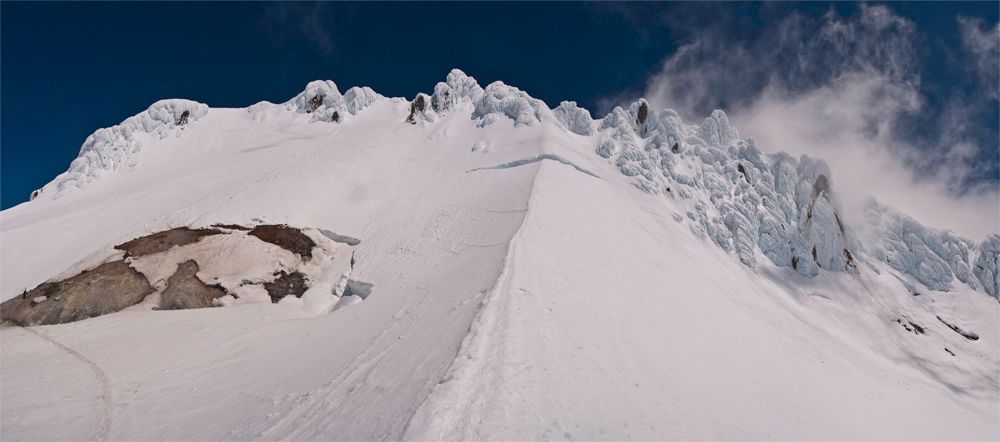
Crossing the actual crater of Mount Hood.
Getting to cross the actual crater was quite unique and fun. Hood is a spectacular mountain!
Making progress up the Old Crater Route.
I got a good view of the top of my descent from the summit ridge (upper right of the picture) during this part of the climb.
I moved as quickly as I could from the Hogsback to the summit ridge to minimize my time in a zone of potential icefall. Hence I did not take any pictures or video in this section.
A look down the Old Crater Route from the summit ridge.

The winds on the summit ridge and summit were intense. There were moments where I had to lie down and anchor myself as best as I could with my crampons and ice axe, because even on my hands and knees I was getting blown over. When I arrived at the summit, I put my pack down with my skis still attached. A gust of wind almost blew it away (which would have been miserable!), so I anchored my gear to my ice axe while I waited for a break in the wind.
Despite the wind, the summit was still stunning and it was fantastic to be above the clouds!
Alone on the summit! I descended along the ridge in the background to get on top of my line.

The snow on the descent was far from being ideal. The rime that plagued the ascent would prove to be a hassle on the descent as well. It prevented me from taking any pictures until I was below the Crater Rock because I didn't want to stop and hassle with my camera on a steep slope in those sorts of conditions (i.e. wind, variable visibility and rime snow).
Another view from the summit, but notice the rime in the foreground. It was like that for most of the descent.

Although the snow was poor, the descent was still quite fun. From the summit ridge I descended the West Crater Rim. The top half was not quite as steep as the bottom half, but both sections were certainly steep with sections upwards of 50 degrees. Since the snow was so poor, I was forced to go either very slowly or very quickly. After the first two slow turns from the summit ridge I decided that it would be easier to just let the skis run quickly over the ice. It was a good idea and the descent became MUCH more enjoyable.
From the top half of the line I traversed skier's right to the Hawkins Cliffs. What followed was by far the most exciting part of the descent. Clouds were rolling in and out, so I had to wait for my opportunity to descend. As soon as there was a clearing I dropped in and skied quickly along the edge of the Hawkins Cliffs. The rime was smaller here and it began to move with me in a loud, hissing slough. Nearing the bottom of the line I pointed my skis in order to gain elevation on the other side of the valley and escape any slough that might be following me. After the straightline I was below Crater Rock and on much flatter, less hazardous terrain. I felt comfortable taking my camera out for some pictures.
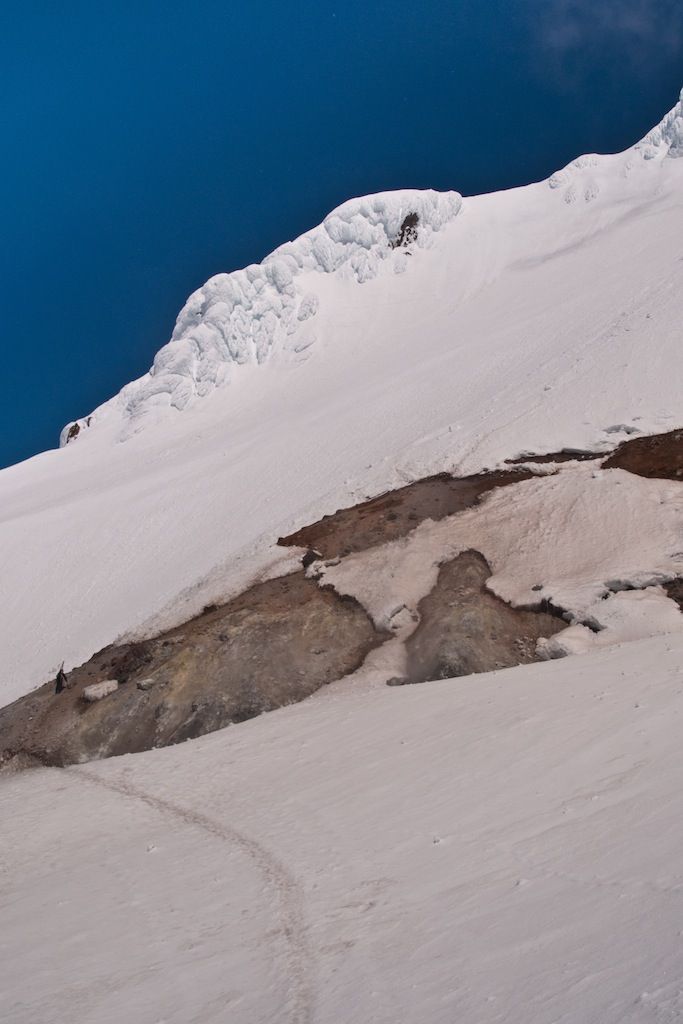
Hawkins Cliffs on the bottom of the West Crater Rim. My line came down skier's left (looker's right) of the cliffs.

Another look. You can see my traverse tracks in the upper right of this picture.

Below Crater Rock I completely lost all visibility. I made my way down to Zigzag Canyon and then traversed skier's left to the Timberline lifts. I made it back to the car safe and sound after 45 minutes of skiing by braille.
Yee haw! Mount Hood was one fantastic adventure!
Friday, June 17th, 2011 - It feels good to be finished with my volcano objectives for the season. I had a gear explosion out of the rental car to let everything dry out and then reorganized. I thought this pic was pretty impressive!

Beta:
Approach

Top of Descent

Entire Descent

Top half of West Crater Rim from the summit ridge.

Bottom half of West Crater Rim by the Hawkins Cliffs.


No comments:
Post a Comment