For a skier I'm a pretty big guy and I ski pretty hard. That makes finding skis, especially ski-mountaineering skis, rather difficult. I prefer a ski that is light, but because of my size I need some stiffness, which usually adds weight. That just won't do for Denali. I will need a ski that is both light enough to not be a hazard and stiff enough for me to ski something serious.
For several months I worked with Folsom Custom Skis (Mike and Ryan are genuinely awesome guys!) to design a ski for my Denali trip. I rode several pairs of their demo skis, told them what I liked, what I would change, and how I'd like a pair of ski-mountaineering skis to behave on various types of snow. Below are a bunch of pictures from the building of my Folsom Custom Skis. I've named them - they're The Longships (built to be fast and pillage).
After getting The Longships built I had to give them an initial test. What better place to give a pair of skis some testing than in the Tetons? Jake, Norm and I loaded up in Jake's Suburban and headed north to Jackson for a few days. We did some really great skiing/ski mountaineering, and saw some friends while we were there. The story of that trip is told right after the ski building pics.
If you are in the market for a pair of skis I highly recommend checking out Folsom. Mike and Ryan put a ton of care and effort into their craft, and it shows in the skis they produce. They take care of their customers.
A short video of the action.
Ski Build and Test from Joel Bettner on Vimeo.
The Ski Build:
After cutting out the bases with the lathe, Mike hand forms the edges to the bases.
Half of a ski base has been edged and the adhesive is curing.
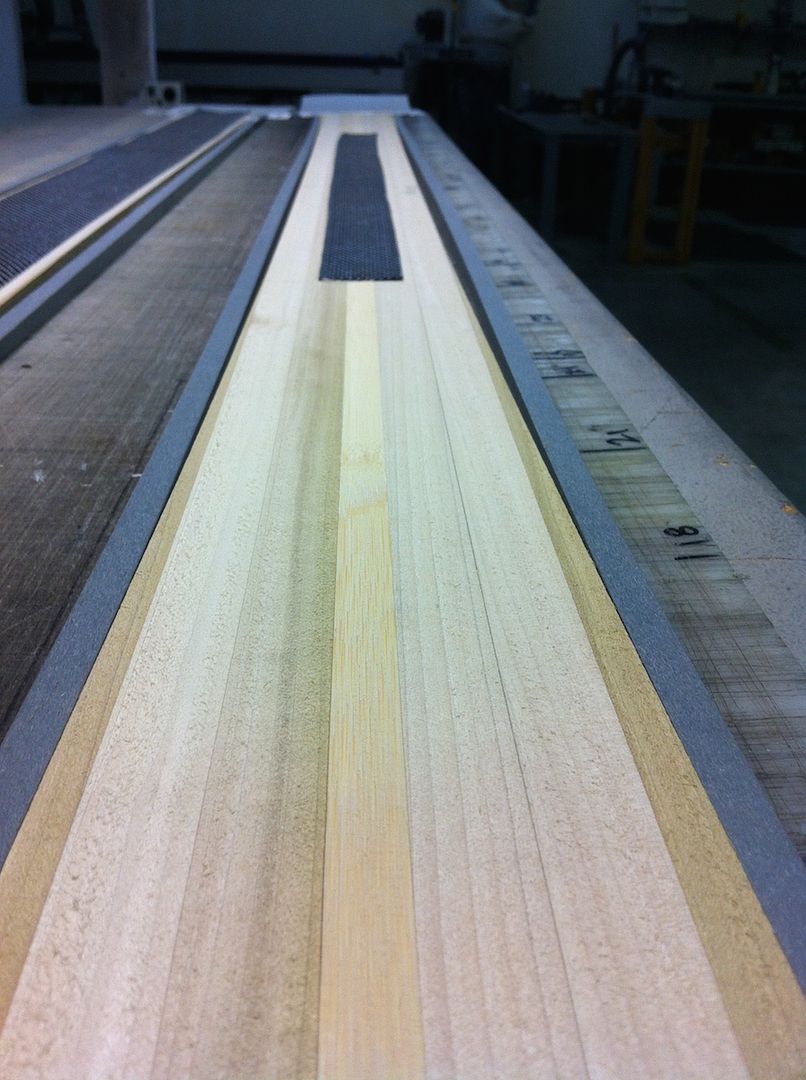
These are my cores (top of one, bottom of the other. They are made out of lighter woods - bamboo and poplar - to significantly reduce weight. They are about 1mm thicker than a standard core to give them more rigidity and reduce the need for more fiberglass (which is heavy). They are also significantly reinforced with carbon fiber to add to their rigidity.

Mike and Ryan hand select all the wood that goes into their cores for proper grain pattern and structure. This provides a significant amount of consistency between skis, additional strength, and a build quality that just can't be matched by mass produced skis.
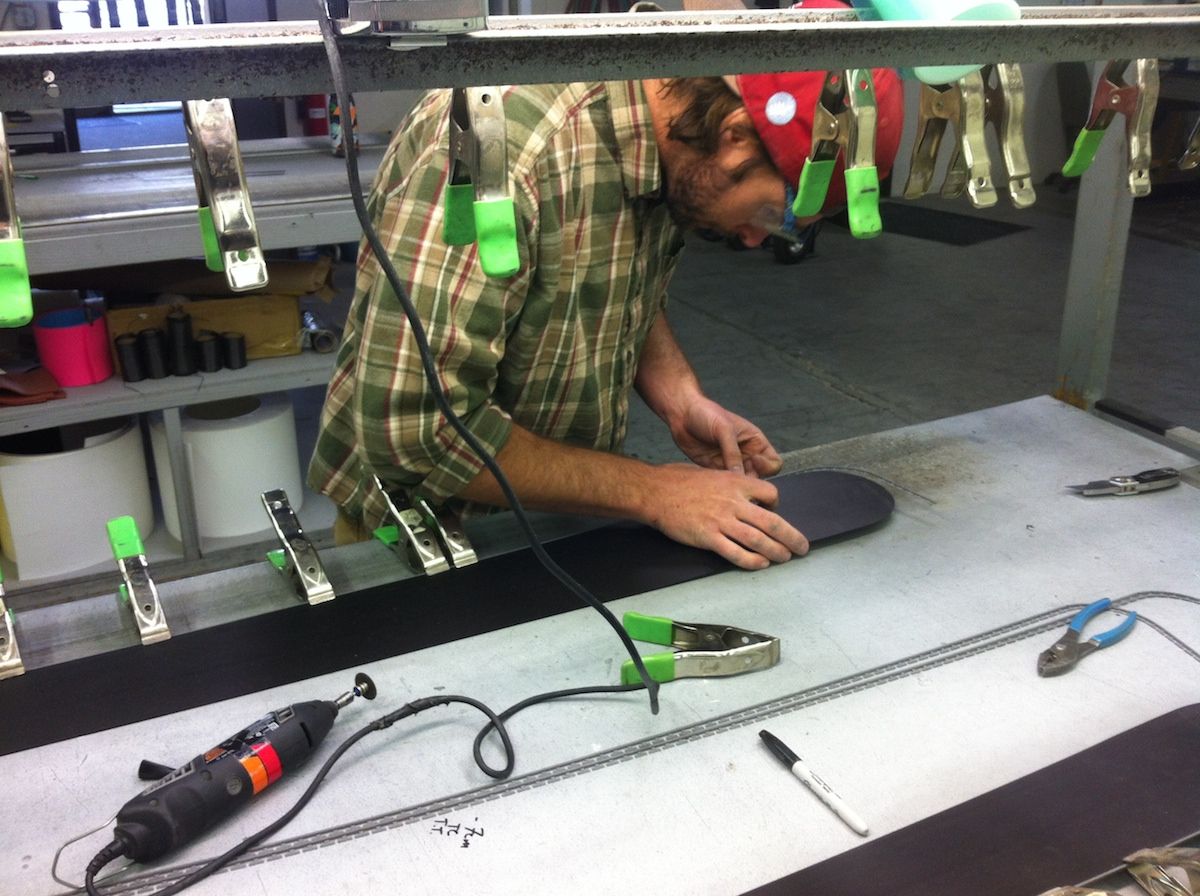
Mike is trimming and cutting the edges by hand in this picture so they fully wrap the ski. It takes extra time, effort and expense to do this, but is seriously adds to the toughness of the ski and helps prevent delamination.

Quality craftsmanship.
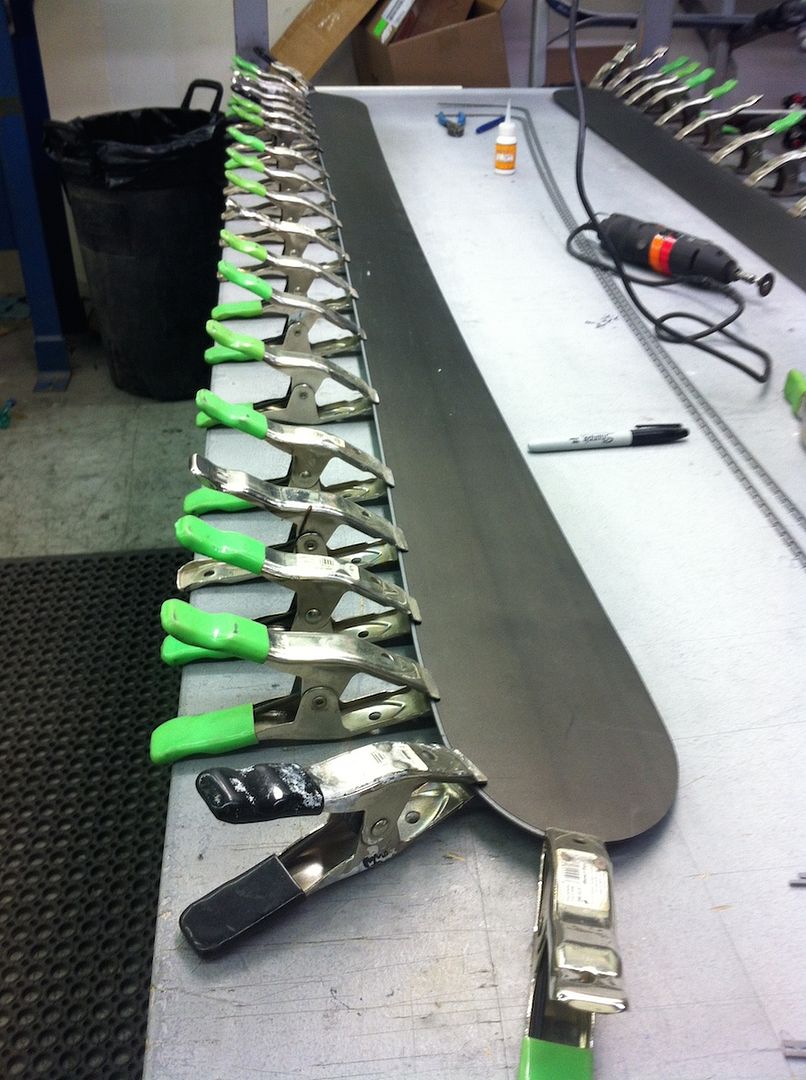
Fully edged bases.
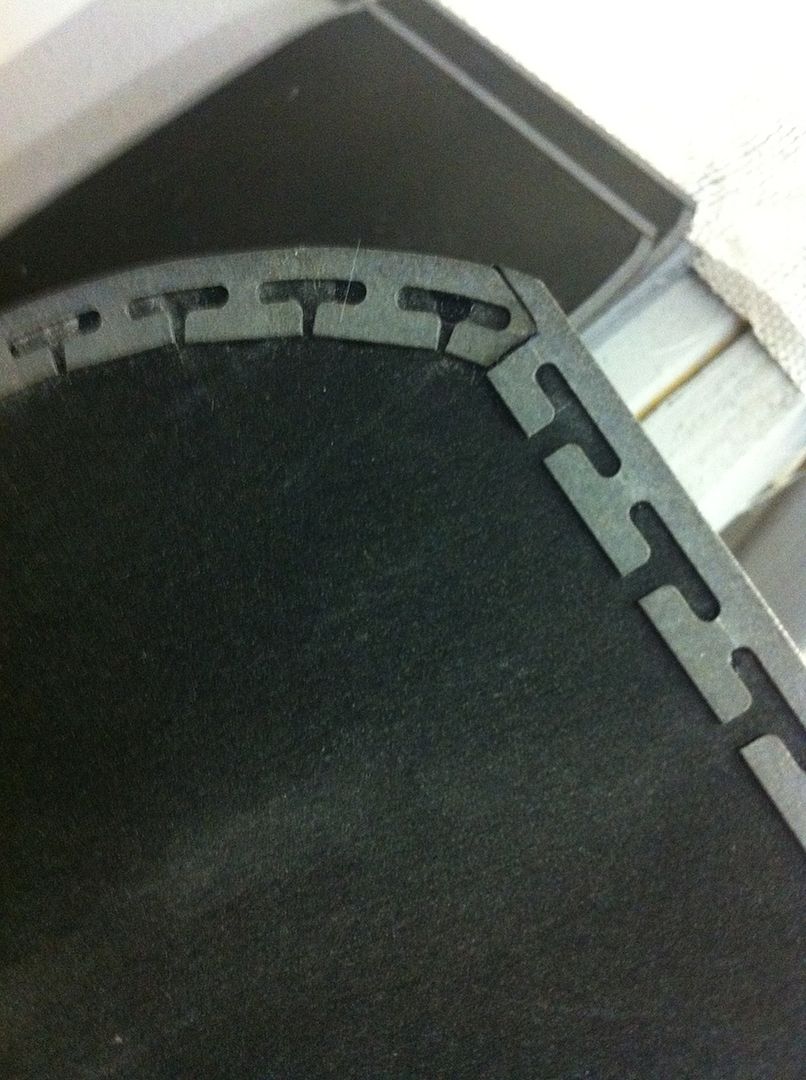
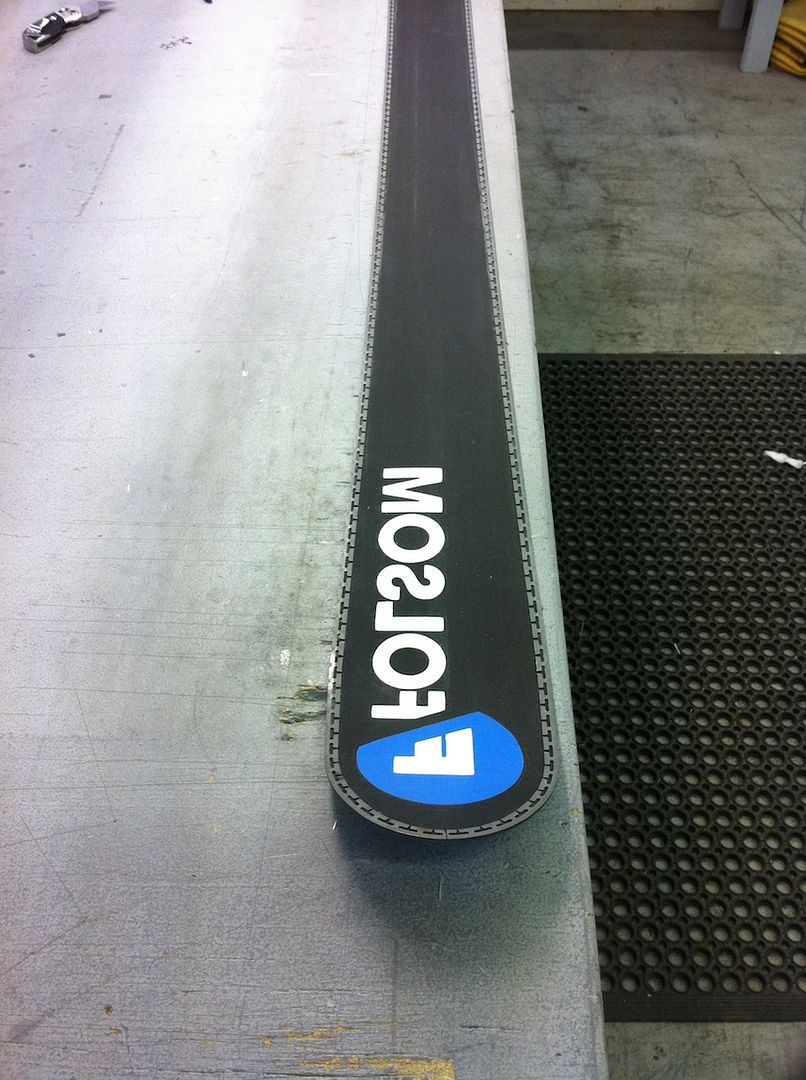
The die-cut logos inserted into the bases.
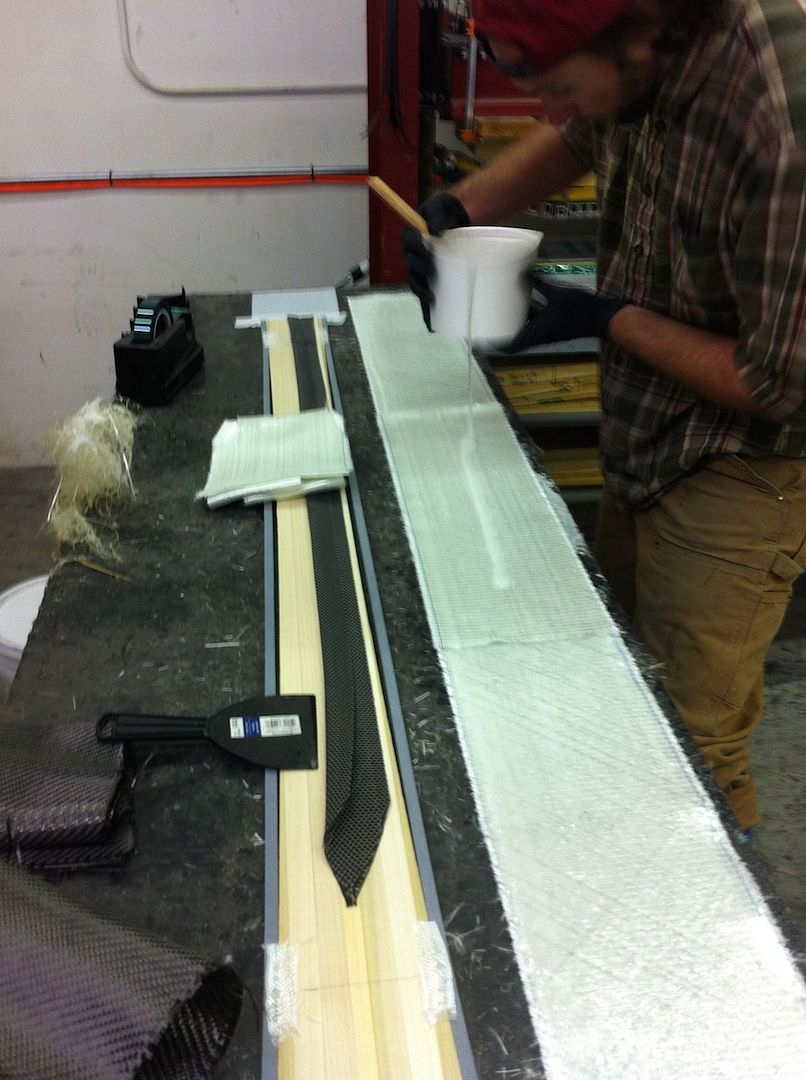
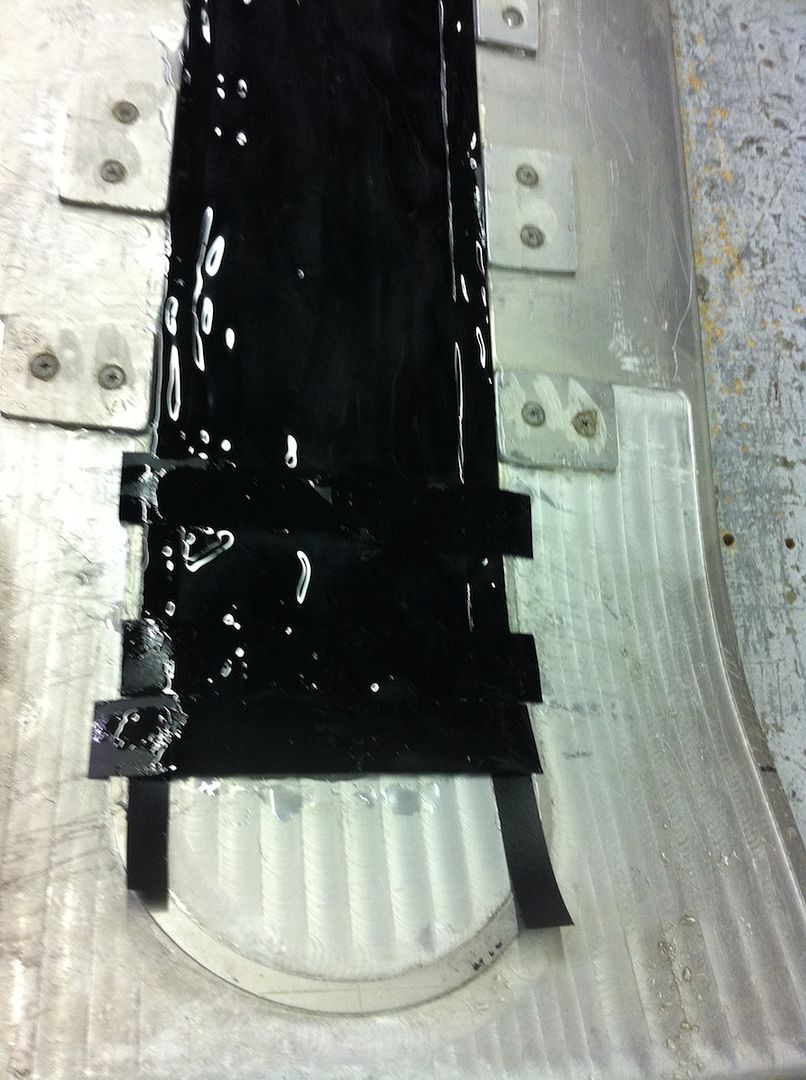
Applying the adhesives to the fiberglass, carbon fiber and core. Much less fiberglass was needed because of the additional thickness of the core and the carbon fiber, making the ski much lighter. You can see that additional fiberglass was put in the center where bindings are mounted to add strength to that highly stressed part of the ski.
Putting the bases into the press cassette and getting them prepped before adding the core.
Additional rubberized strips are added around the edges and tip/tail. This helps prevent delimitation and adds strength to those parts of the ski.
Mike adding the carbon fiber to the cassette.

The core added to the cassette.
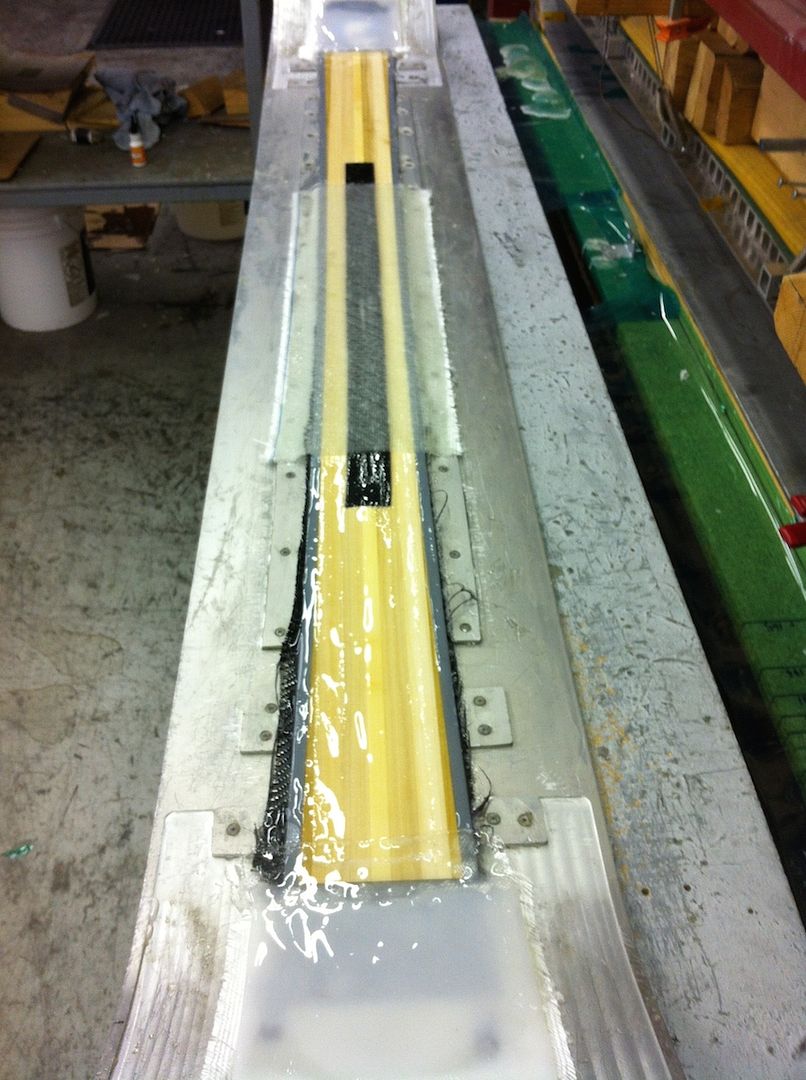
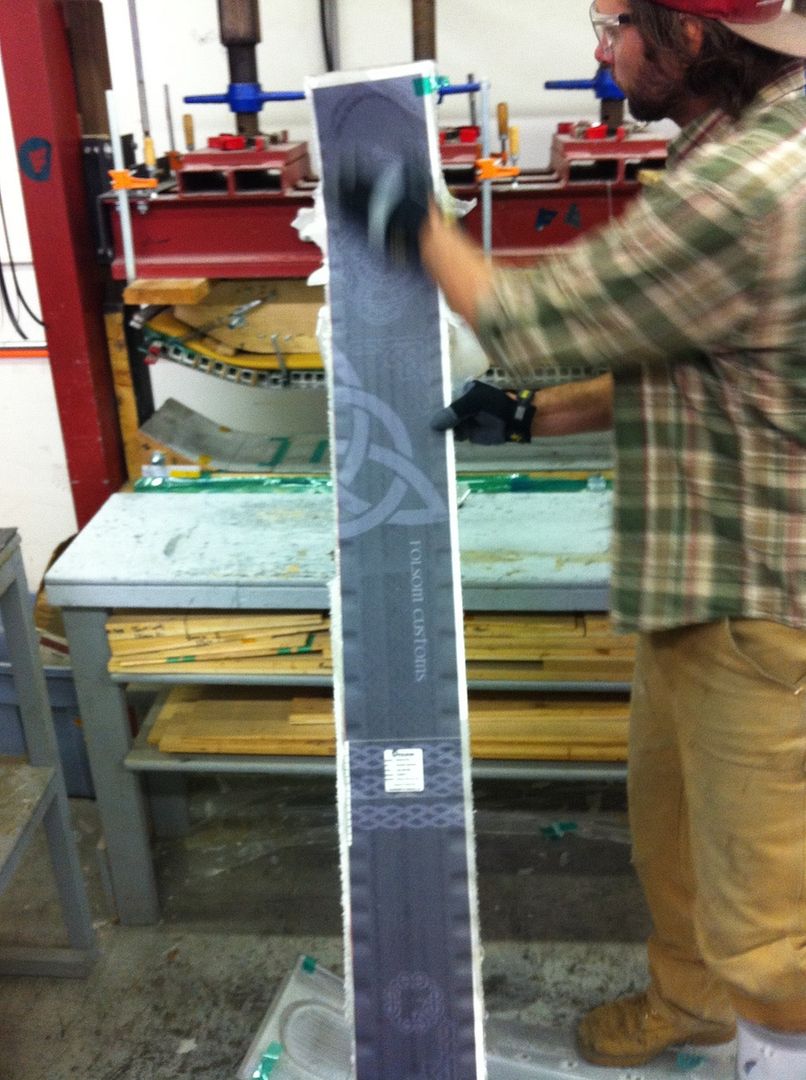
Adding the custom graphic.
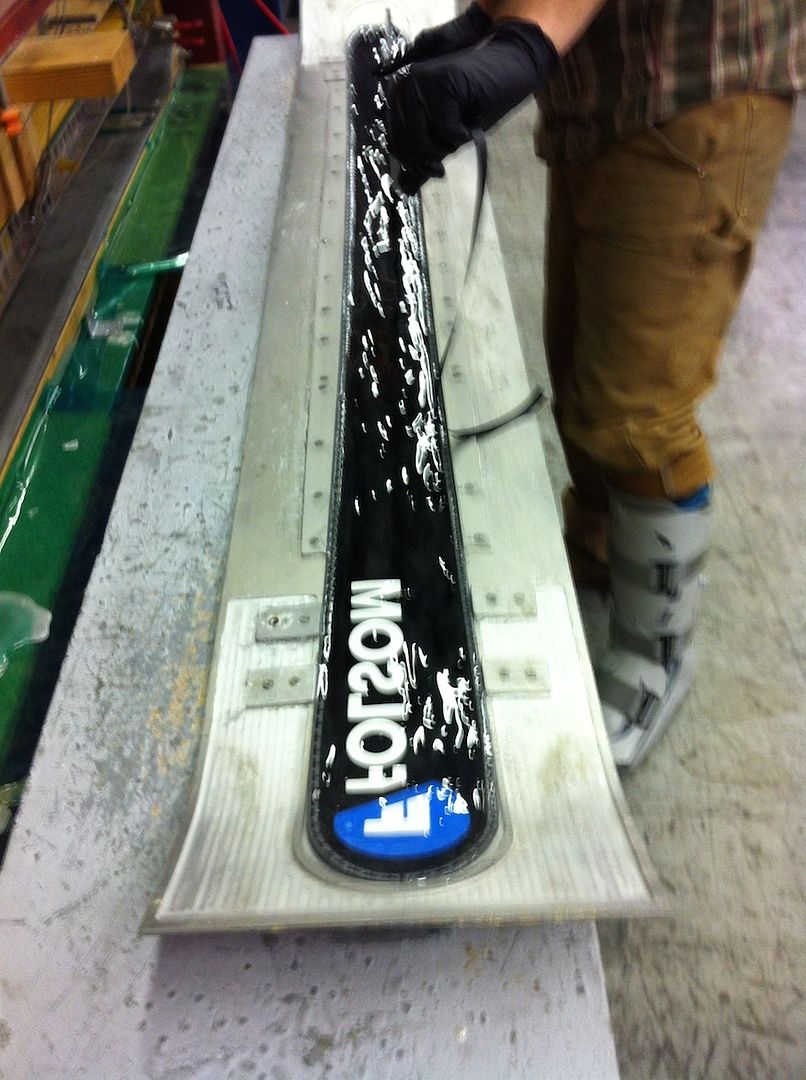
Prepping the ski for the press.
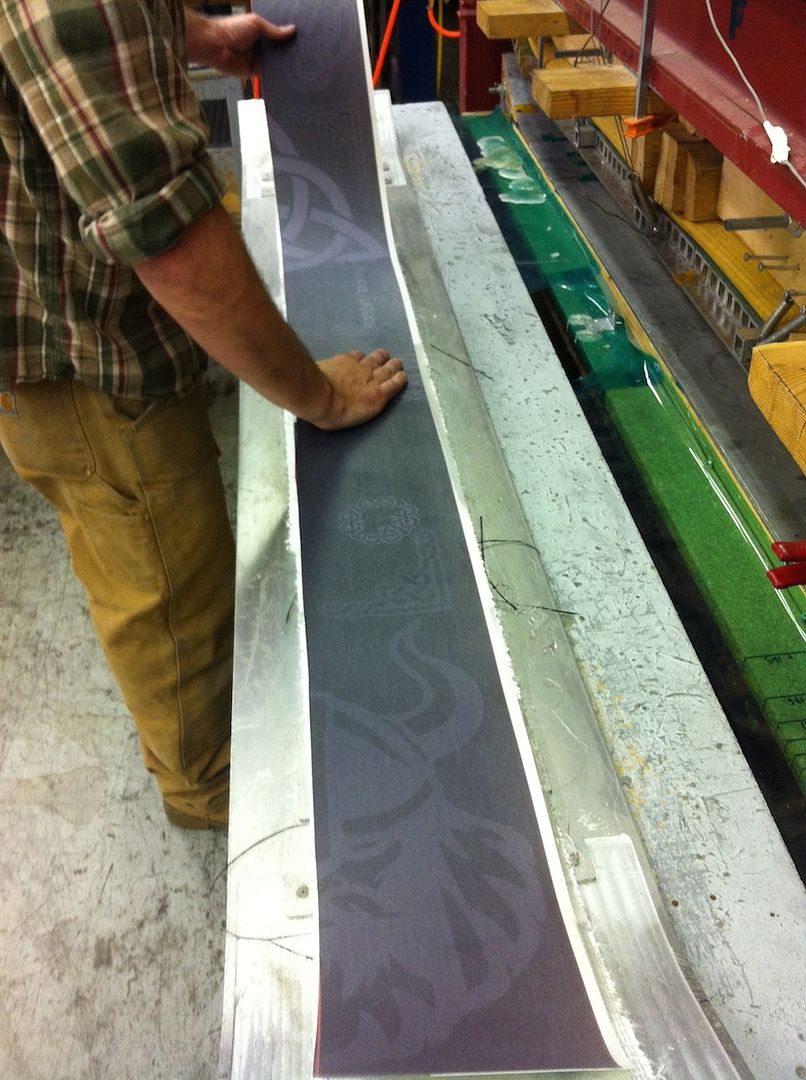
After its time in the press, the ski comes out.
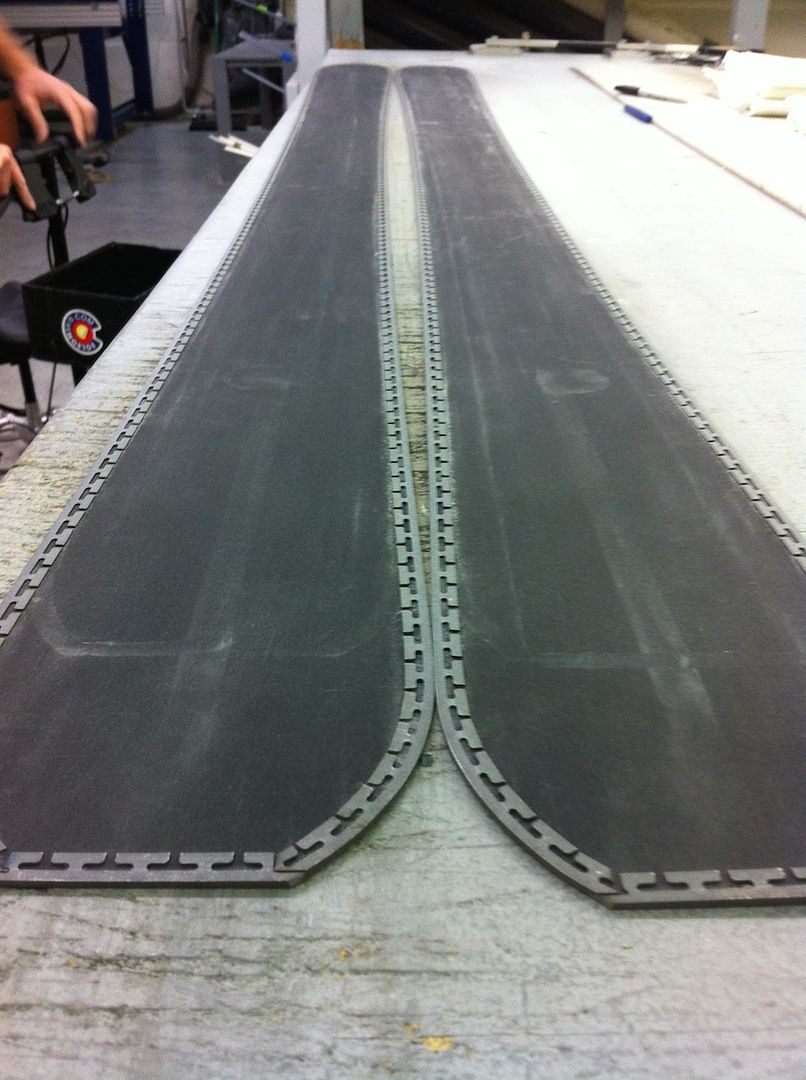
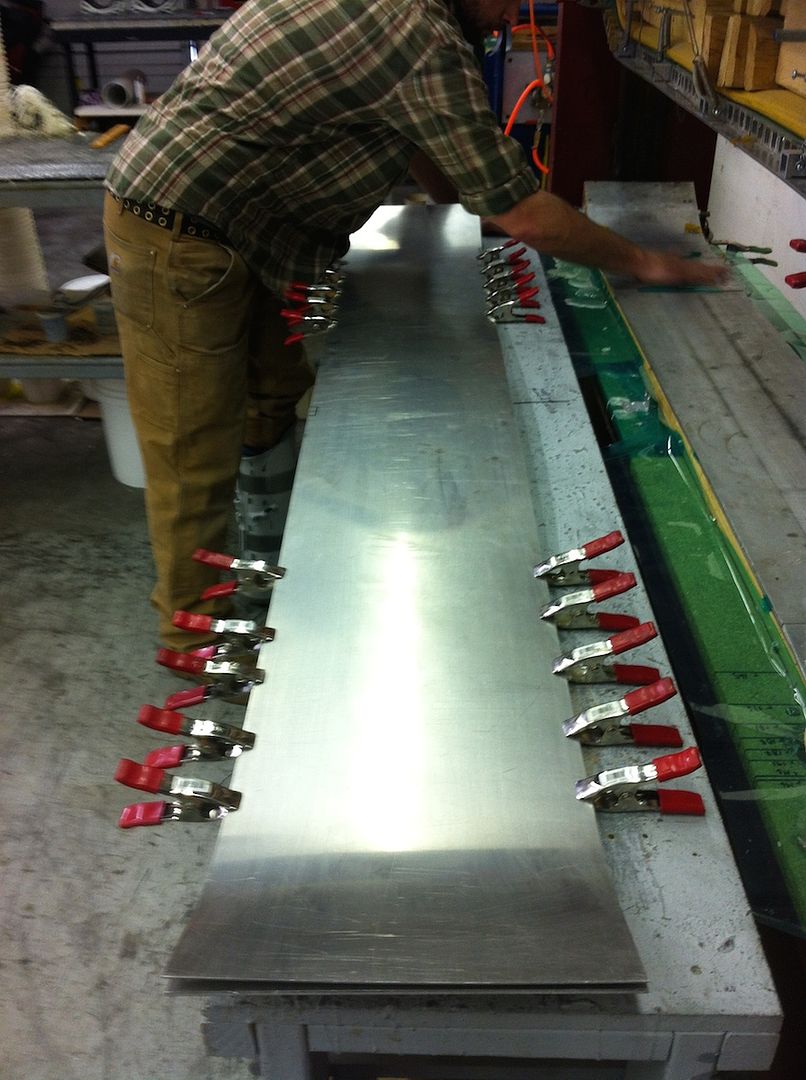
Both skis finished pressing, but needing to be cut out.
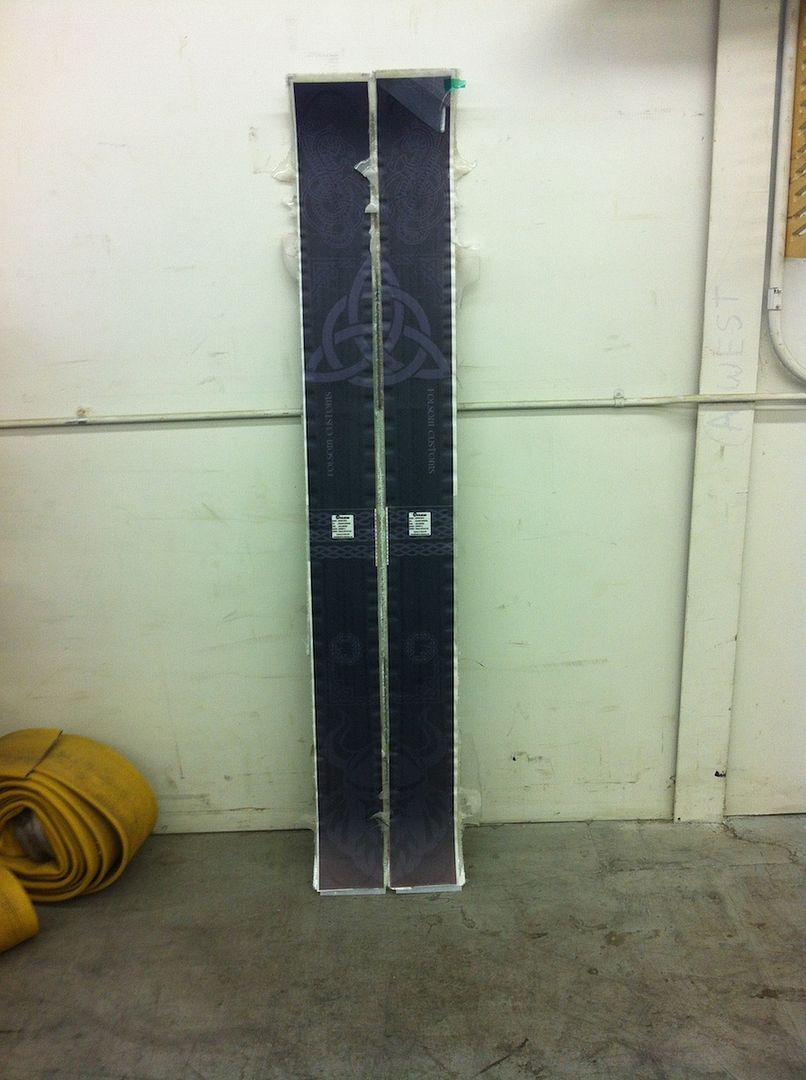
The finished product. Beautiful.

The Teton Testing Trip:
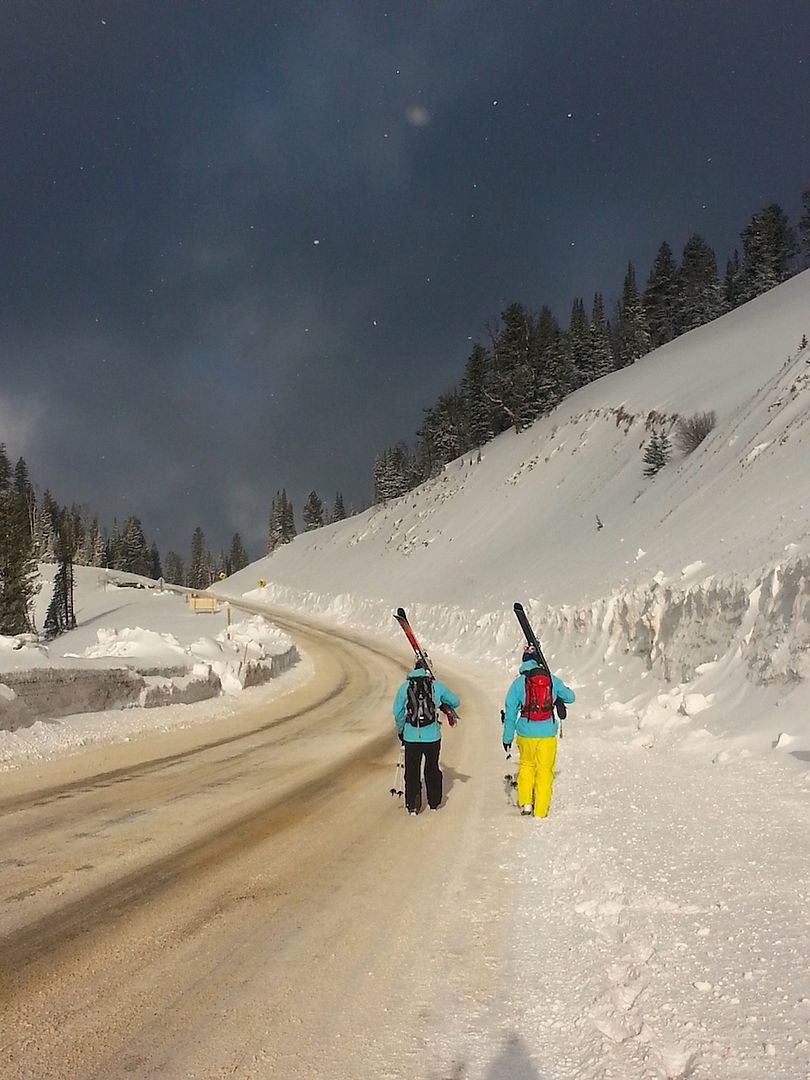
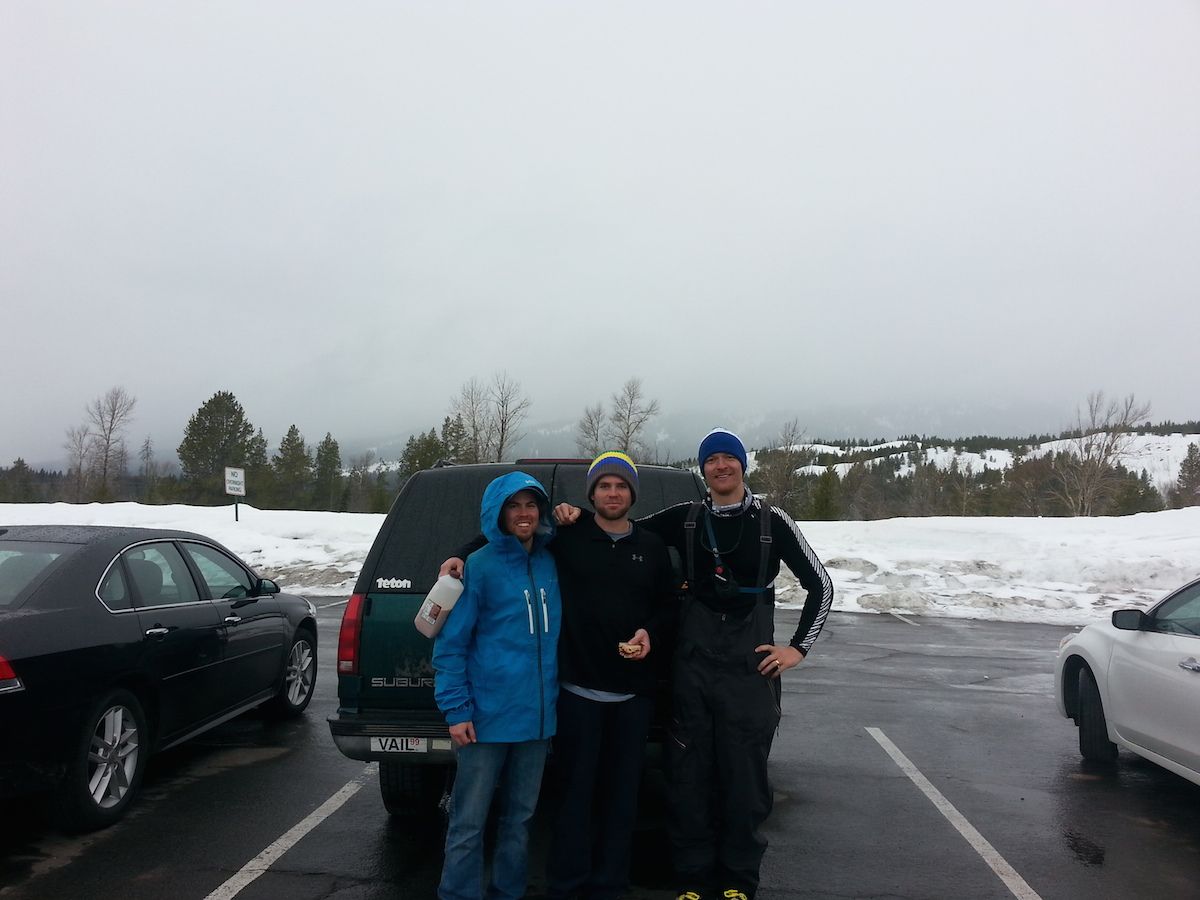
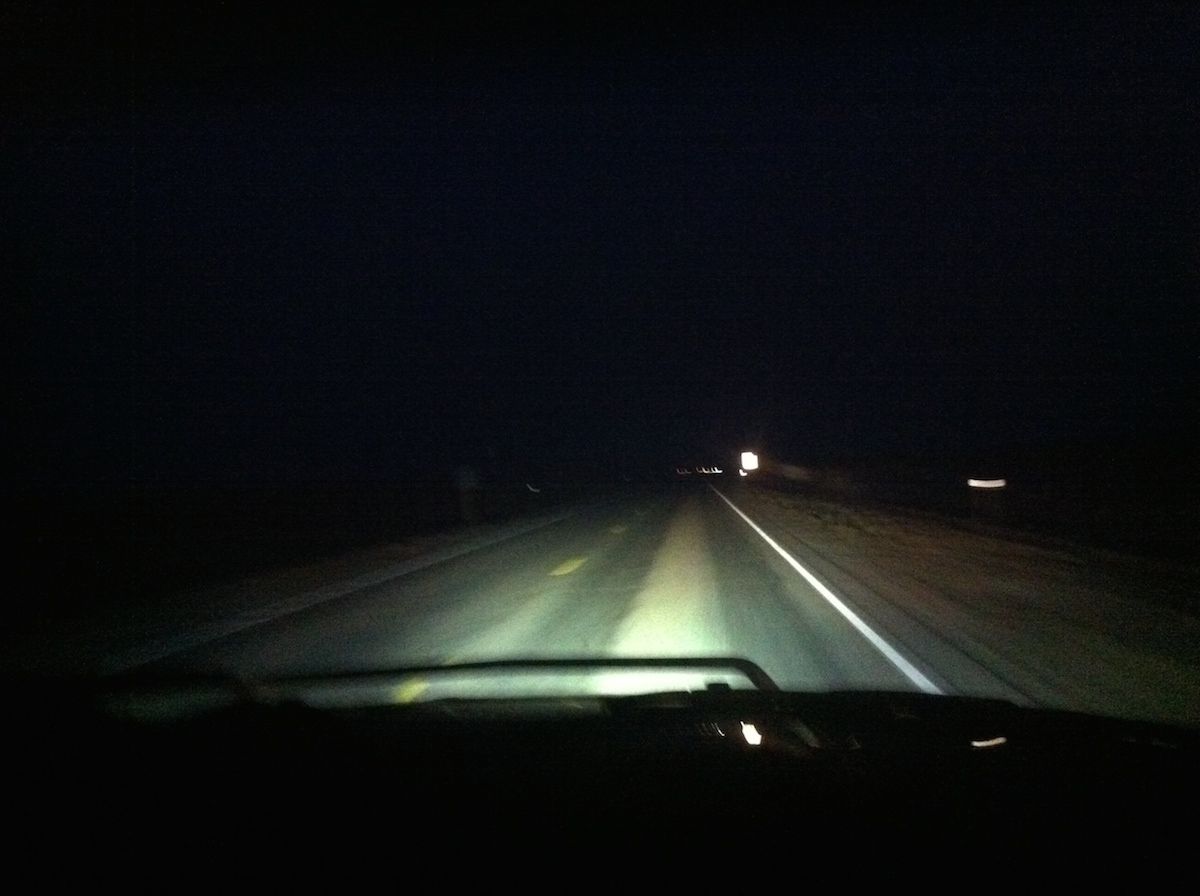
Jake, Norm and I headed up to Jackson during their spring break. I used the opportunity to give my skis their initial test. It was great to break away with two friends and spend some time in the mountains together on a road trip.
Road trippin'.

When we arrived we ate with and stayed with my good friend Julie. It is always good to catch up with old friends while on a ski trip. The next morning our ski party was up before dawn to get some laps on Teton Pass.
Norm and Jake making their way up the boot pack at dawn's first light.
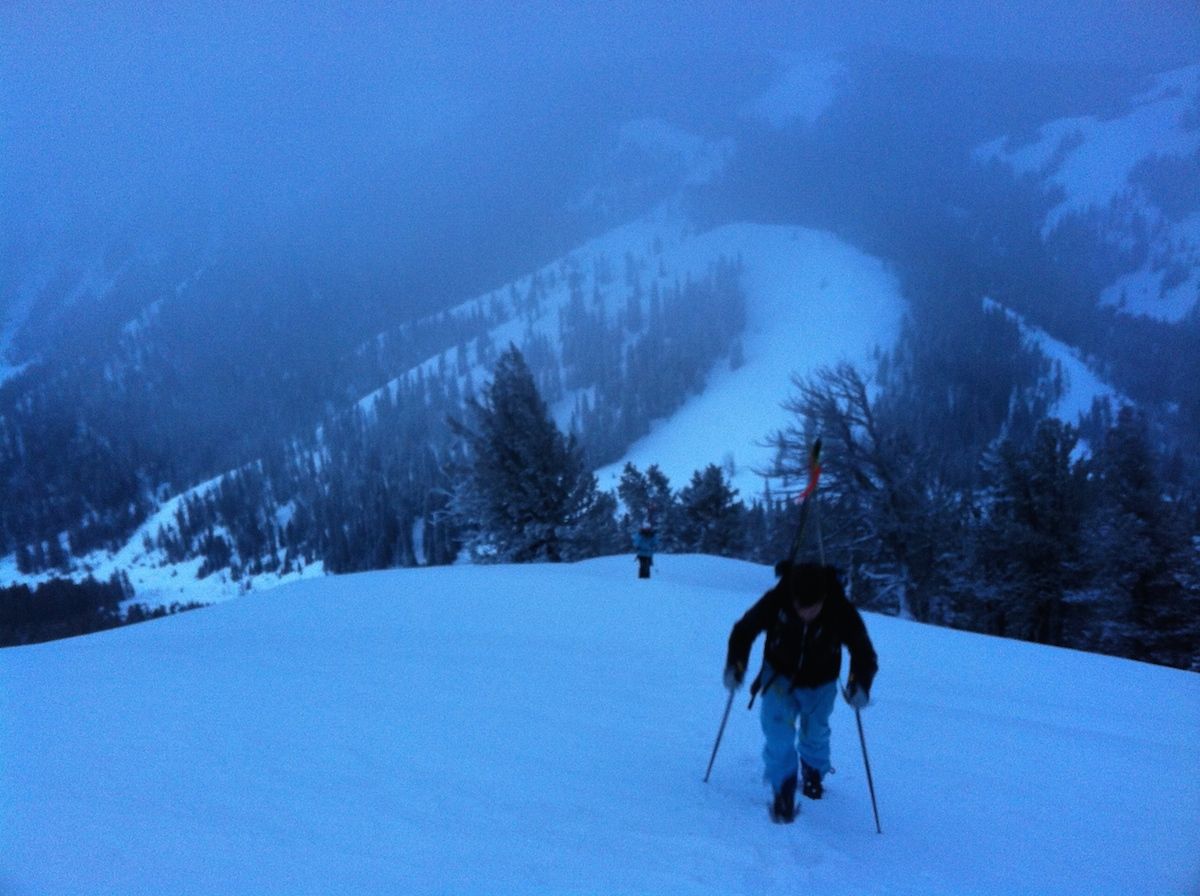
Almost atop Glory as the sun rises.
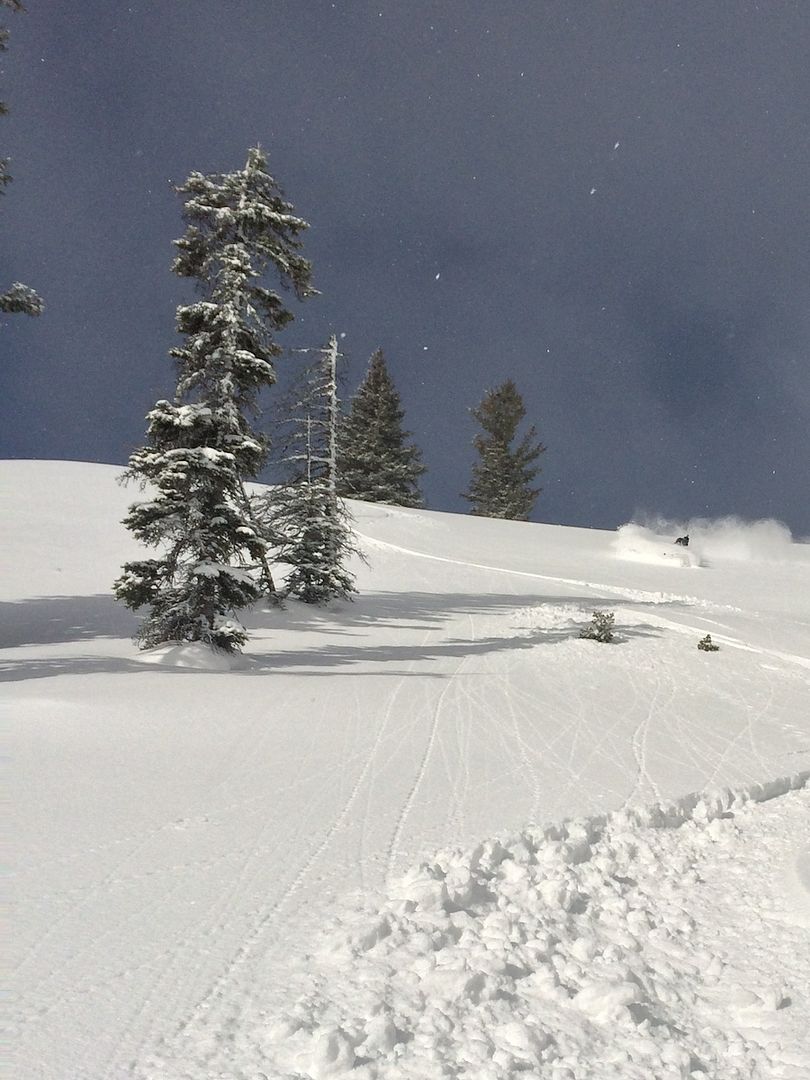
The sun crests the Gros Ventre range as The Longships get their first turns ever.

Heading back up for another lap.
Loving being able to rip skins without taking the skis off.
Jake getting some beautiful early-morning turns.
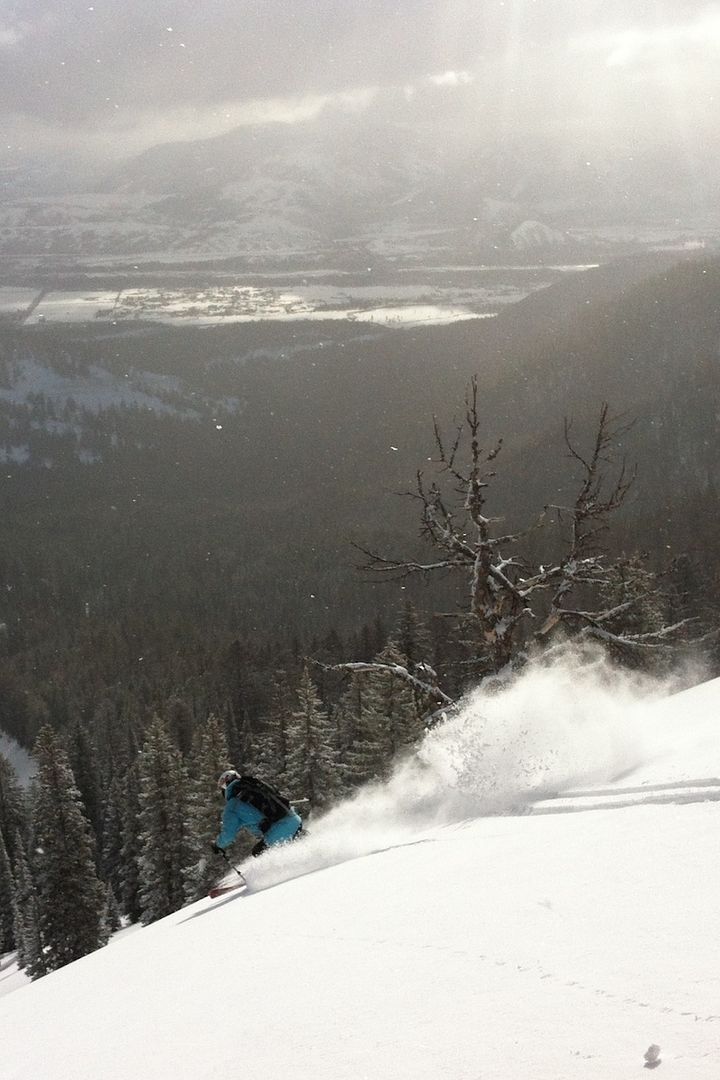
Getting some pow in the face.
After some laps on Teton Pass we went to the resort and got a bunch of laps in and out of the ropes. A HUGE thanks is owed to my friend Patrick (of EarlyUps) for helping us out with some tickets.
The big red fun box.
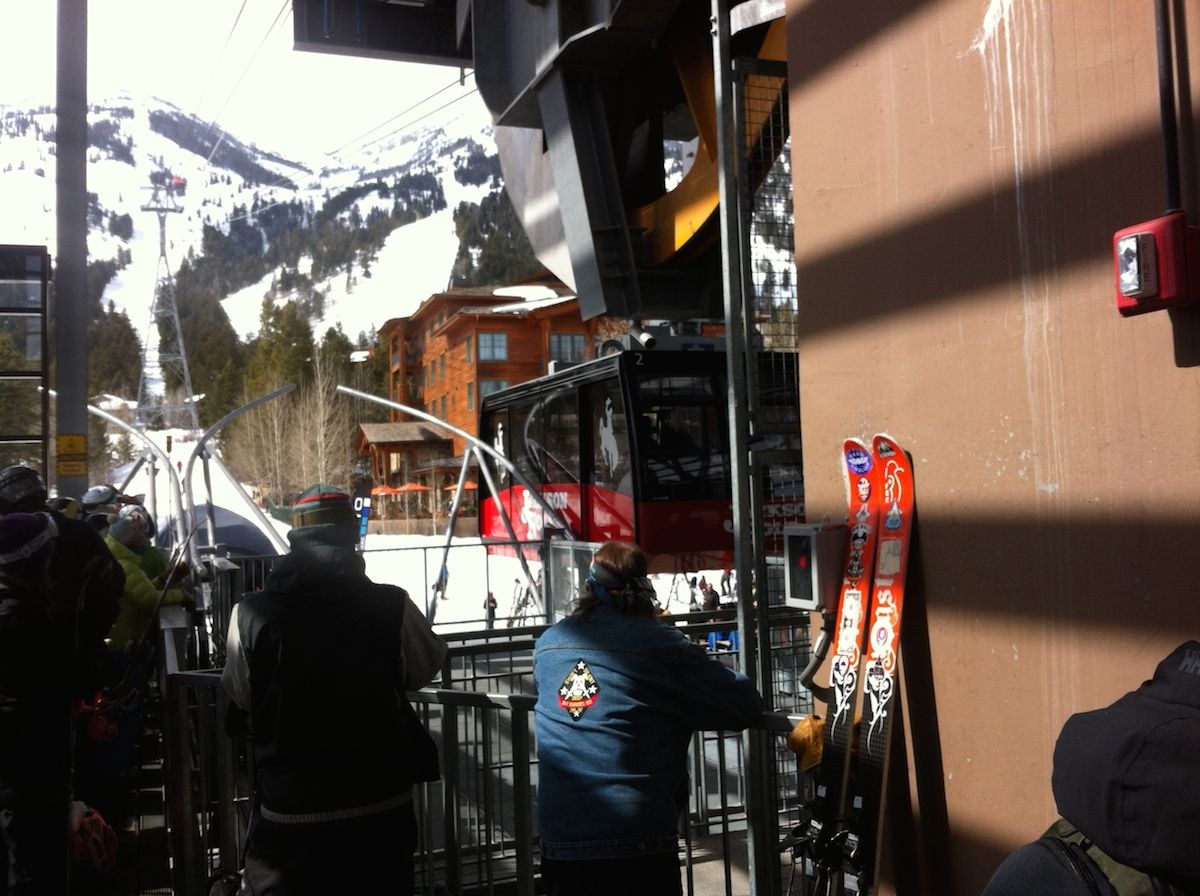
There was plenty of snow to be had just beyond the ropes.
My new skis performed beautifully on their first day. I skied everything from pow to hardback and they handled it all quite nicely. It was especially great to have their light weight on the short laps on Teton Pass.
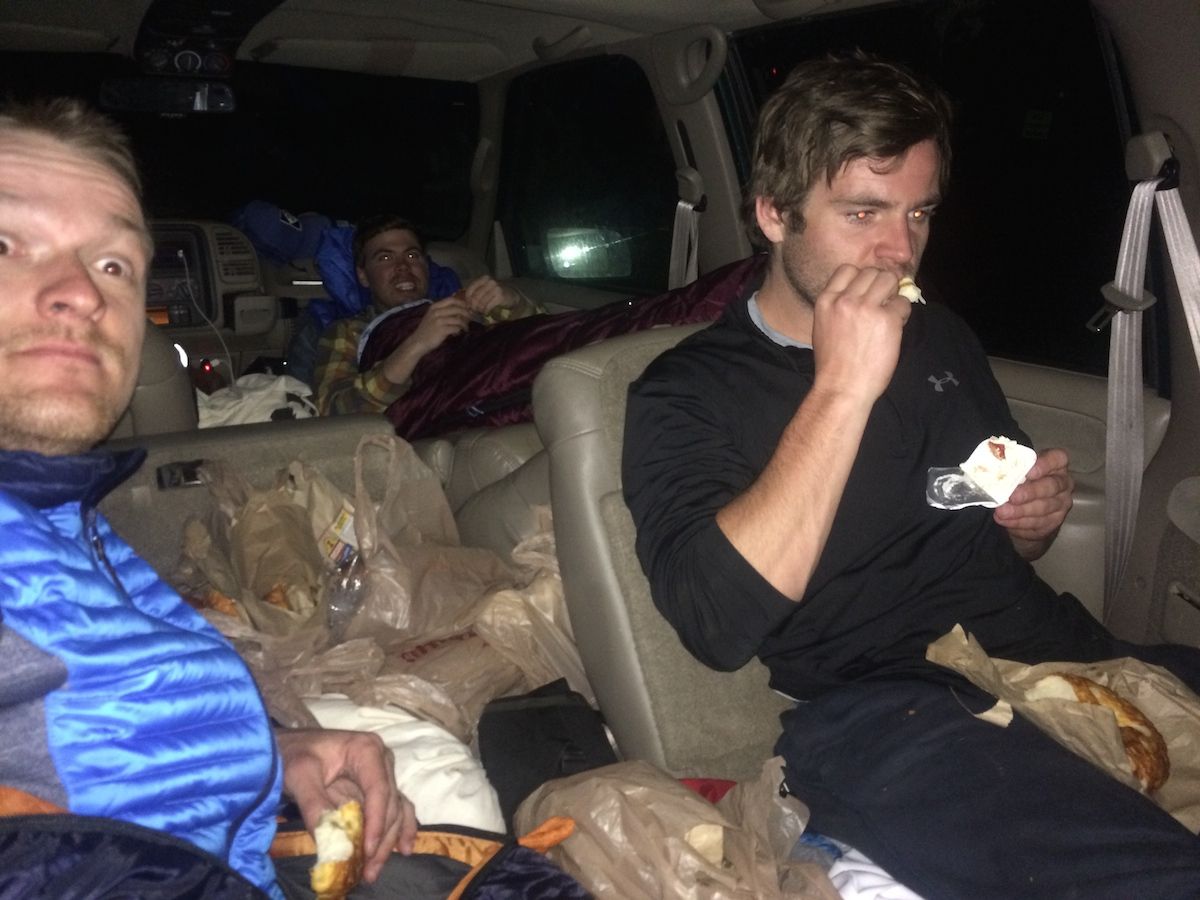
That night we met up with my friend Aaron to play some pool and make plans to ski in Grand Teton National Park the next day. Jake, Norm and I then drove to the trail head, got our equipment prepped and slept in the Suburban. The next morning we met up with Aaron and his crew and started our day.
Hotel GMC.
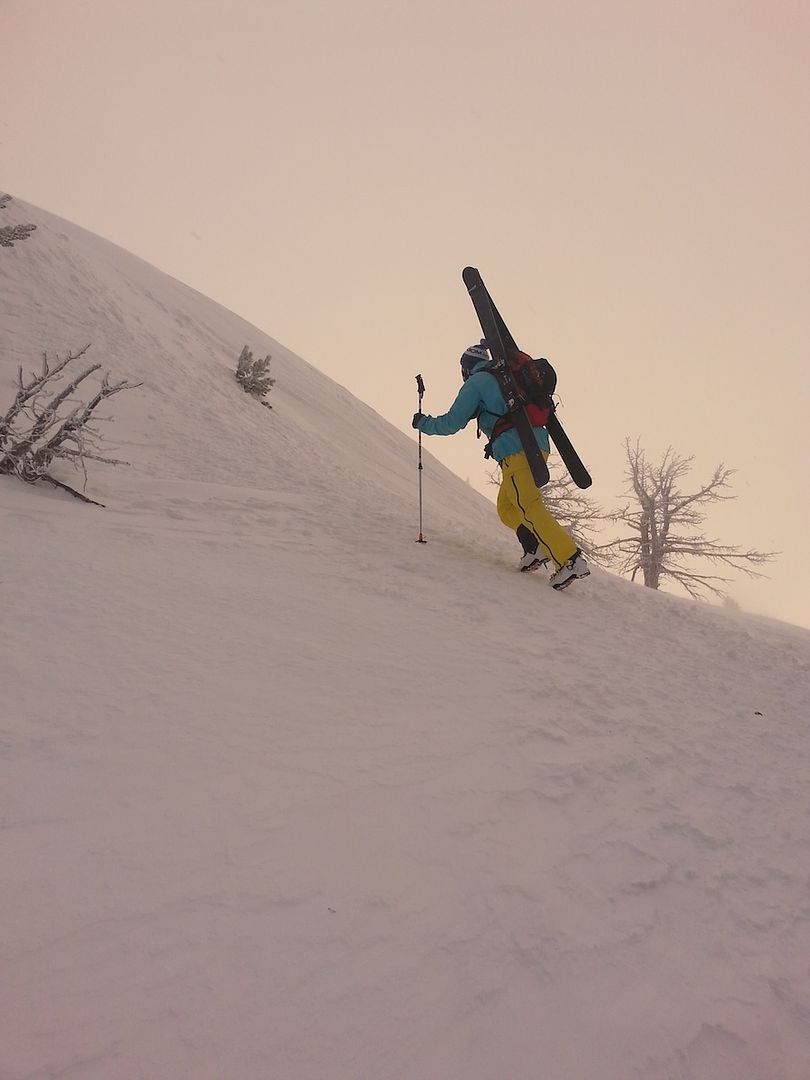
Norm making his way up Shadow Mountain.
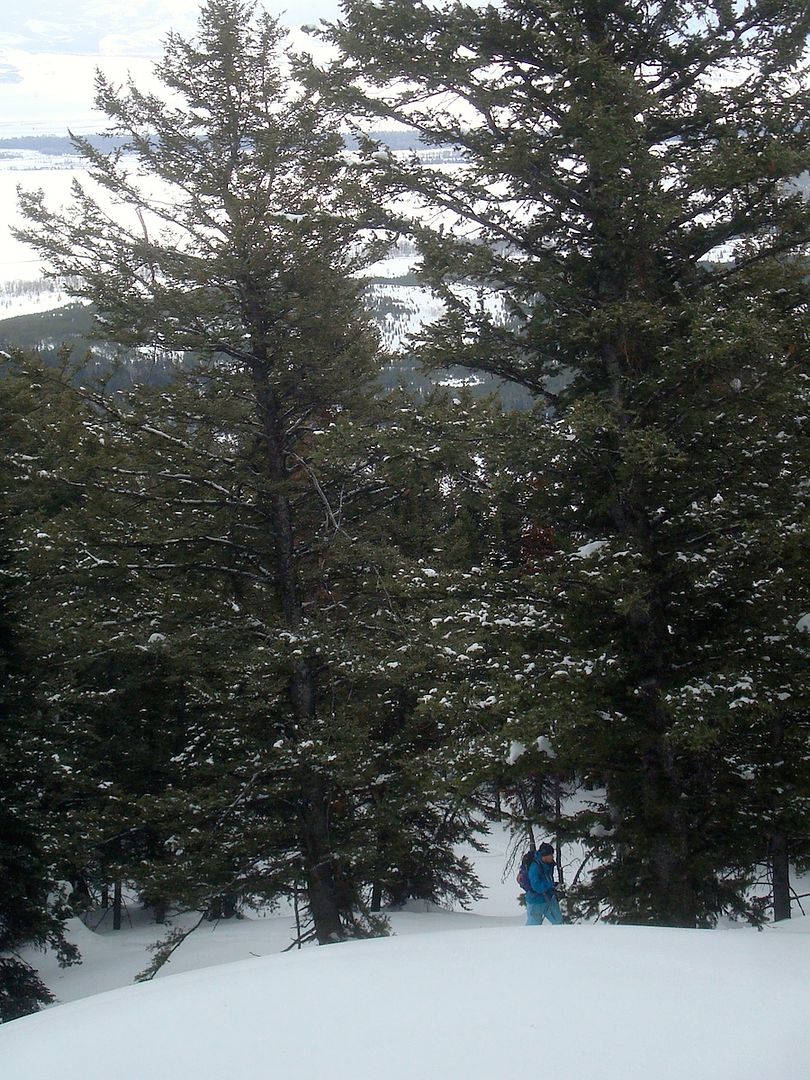
Jake making his way up Shadow Mountain.

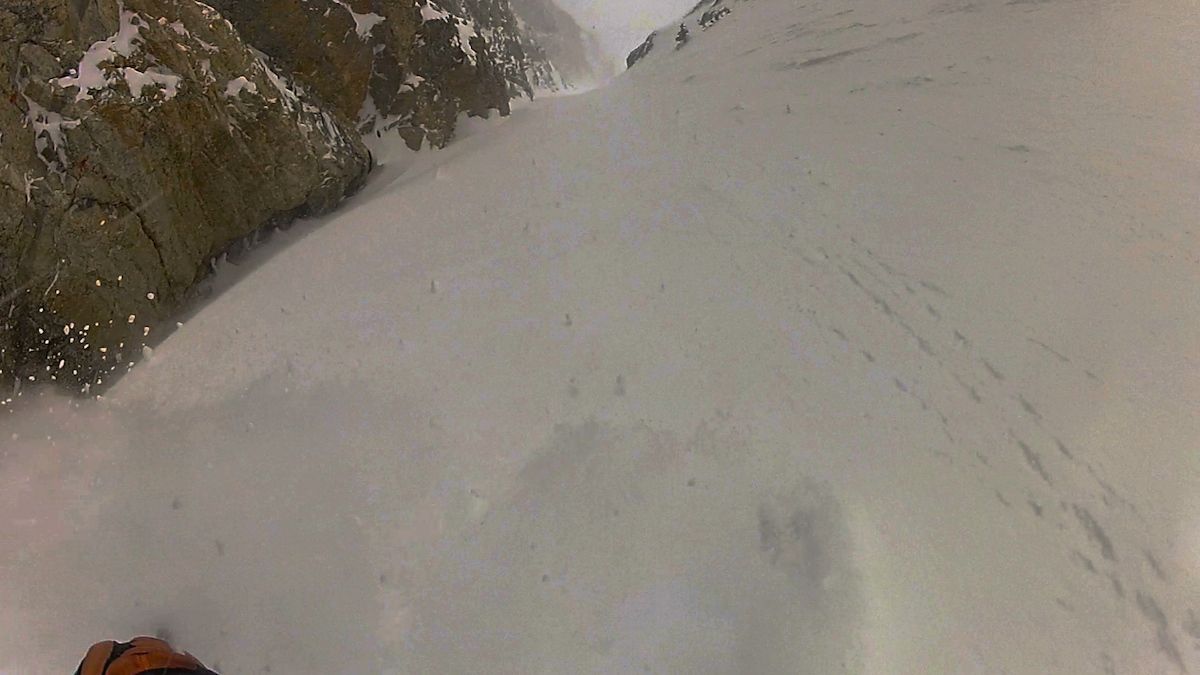
Once we all topped out on Shadow we split up. Norm was not feeling well and he decided to head down with Aaron and his party. Jake and I continued on to ski the Sliver on Nez Perce. This required a 400-500' ski descent into the valley before beginning our ascent of the couloir. The snow conditions turned out to be ideal, with quite a bit of stability and a fair amount of new snow. We constantly assessed the stability during our approach and each time we were greeted with new snow bonding well to an old freeze layer. The freeze layer supported us really well for the climb and the new snow skied very well on the descent.
Starting the ascent of The Sliver.
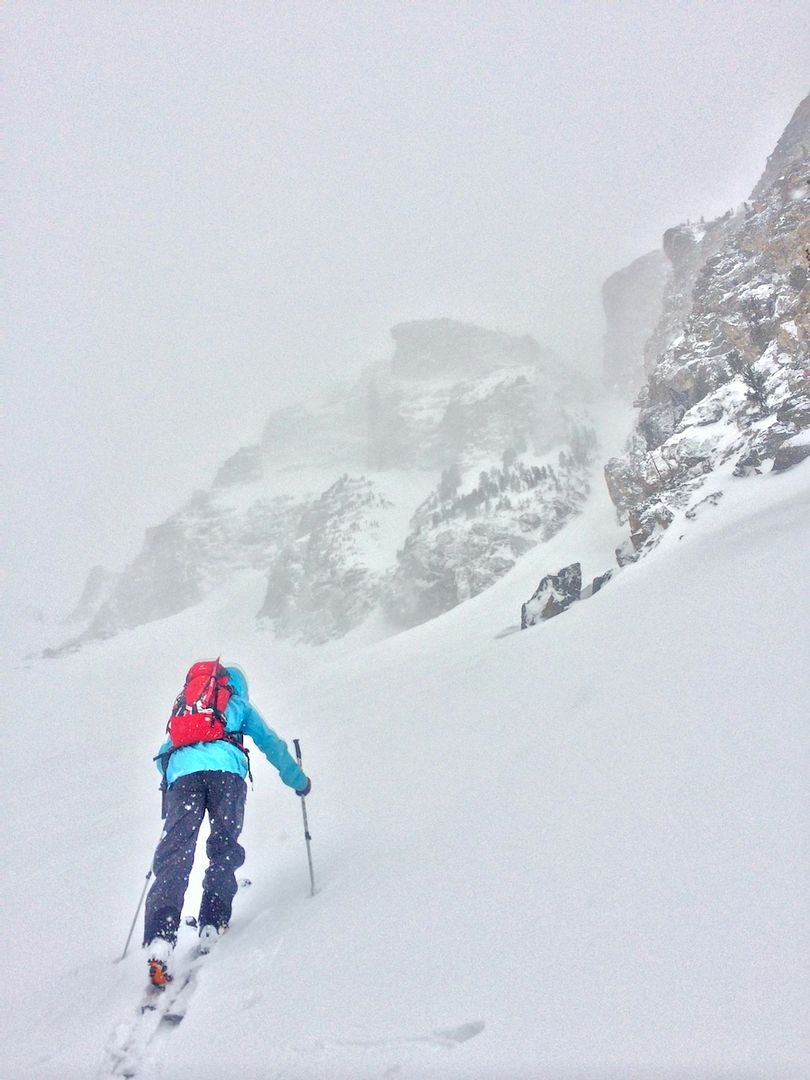
Jake making his way up through the storm.

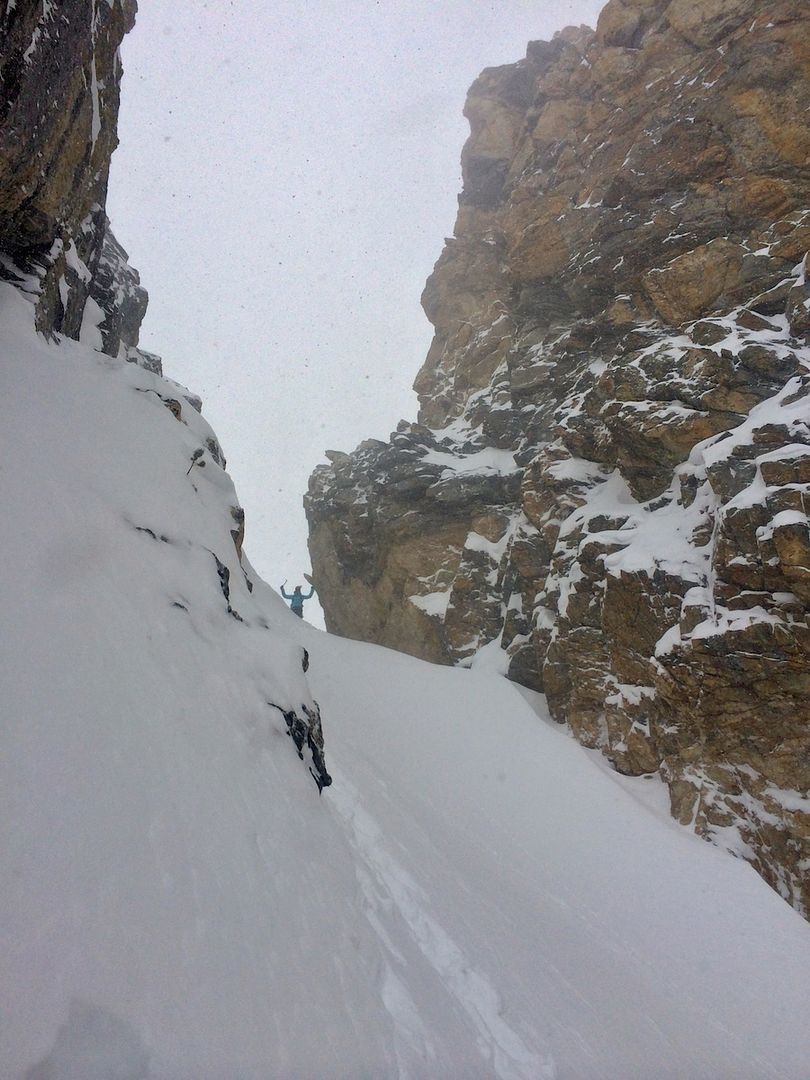
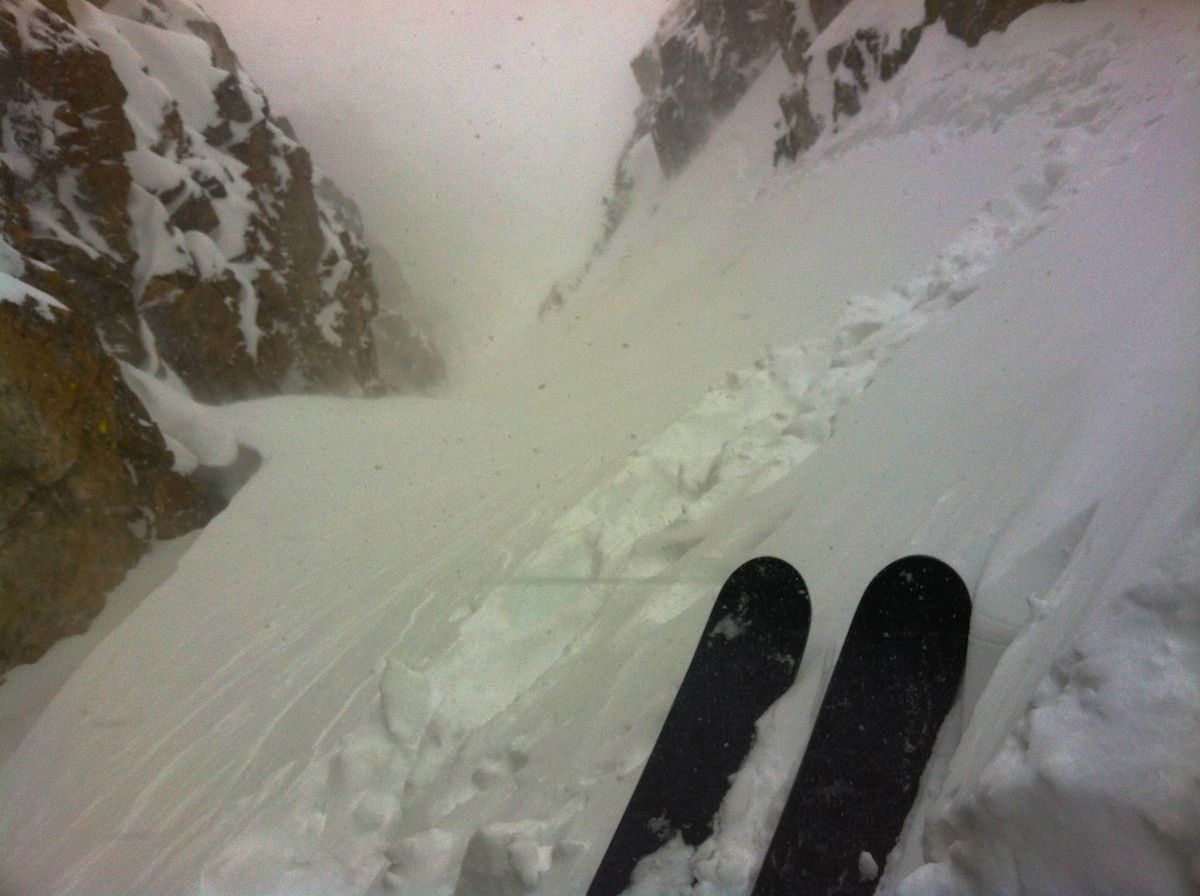
Jake took a turn breaking trail and snapped this picture of me coming up to him. It was right around here that I measured the slope angle with my phone. It was 48 degrees. There were certainly sections that were steeper and sections that were not as steep.

Me after topping out on The Sliver.
Jake making his way up.

Jake topping out on The Sliver.
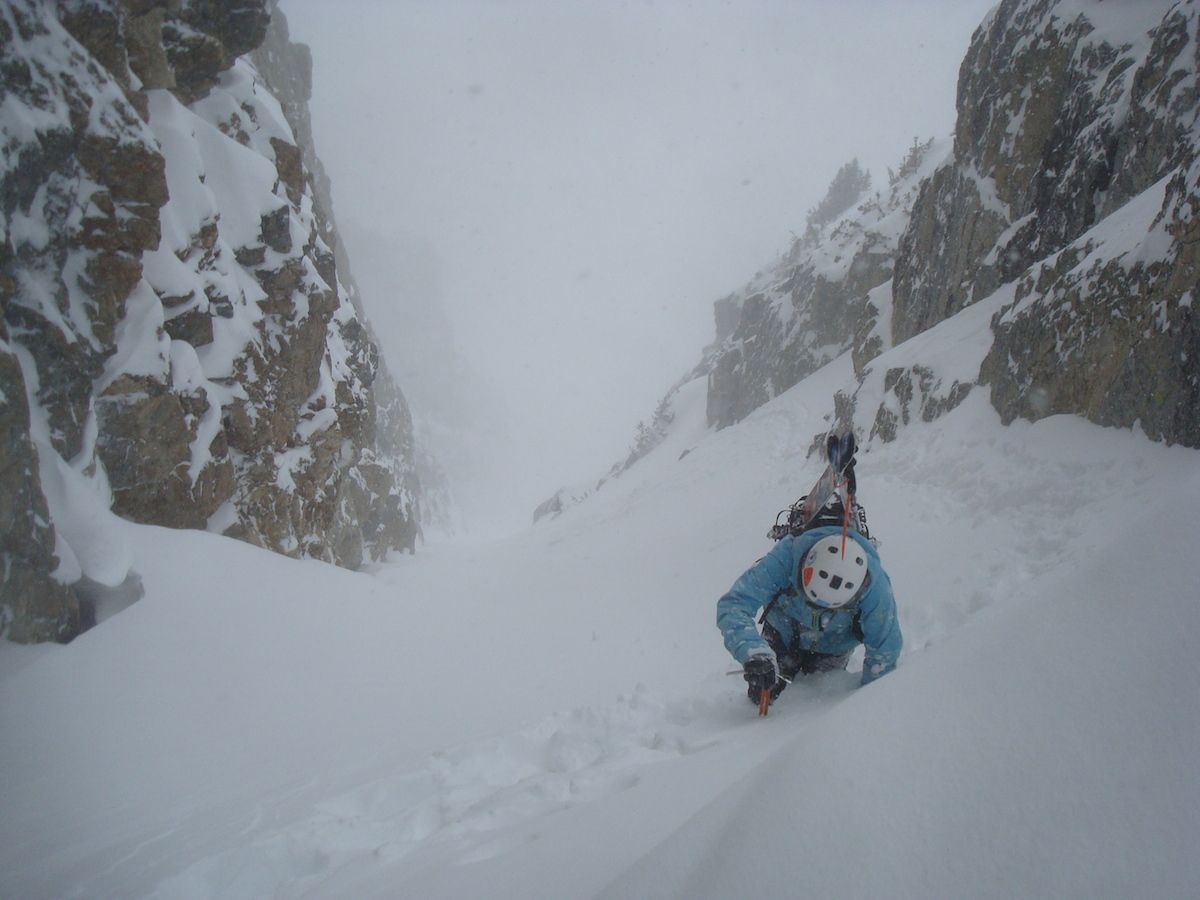
As you can see, the snow comes up pretty high on Jake. We had quite a bit of new snow to play with, and manage.
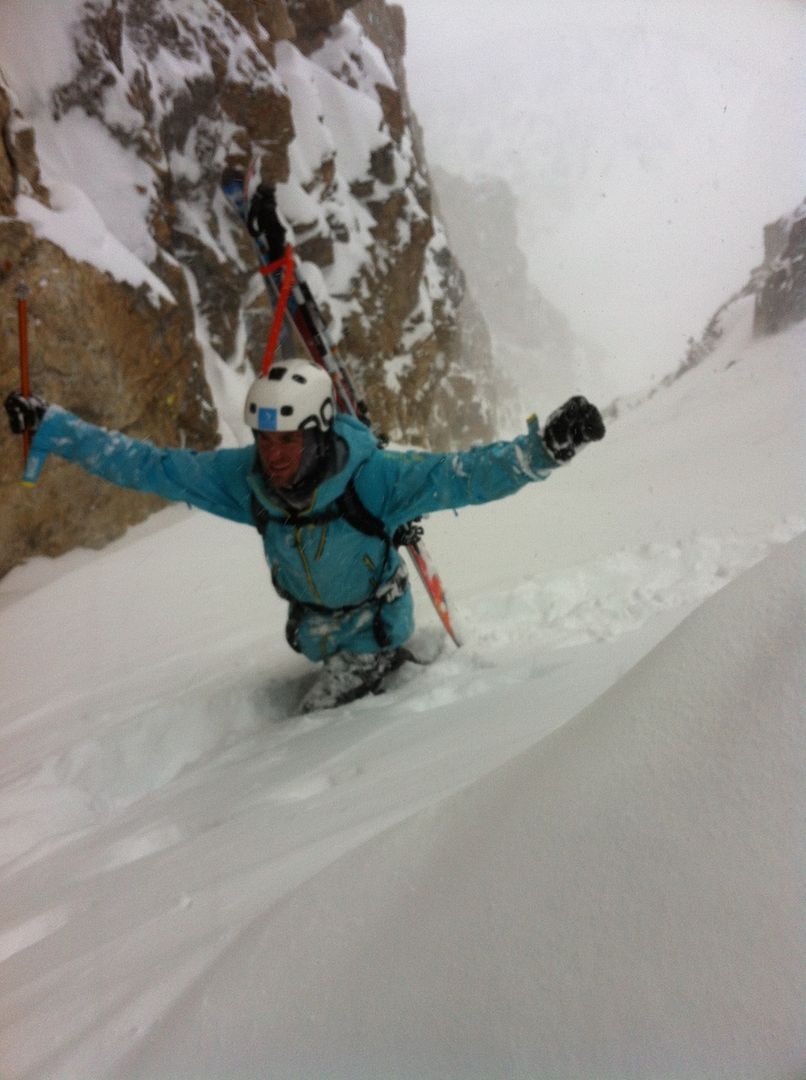
Obligatory summit shot.

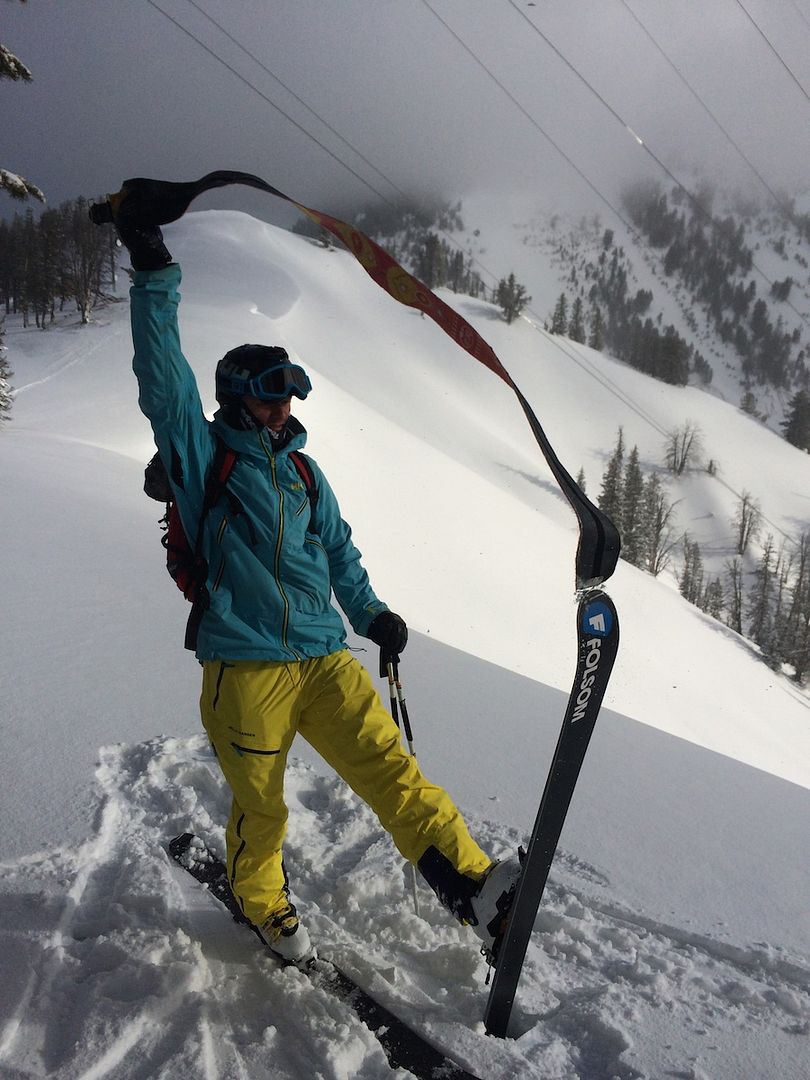
The Longships are excited to get some action.
Some steep pow in the face.
The Longships preformed beautifully in the deep snow at the top and the icy snow down lower. It was a joy to have their light weight on the skin track and boot pack, too. I'm incredibly excited to do more ski-mountaineering with these skis that were built to my specs and desires. Thanks Folsom!
After skiing The Sliver and getting to the trail head we packed up the 'Burb and (much to my chagrin) drove back to Colorado. Good times with great people.
The guys in front of Hotel GMC.


No comments:
Post a Comment